Long hair gives us endless styling options but sometimes we just want something quick and gorgeous. Braids are the perfect answer—they turn any hair day into a good one with minimal effort. Whether we’re racing out the door or planning a special night, easy braids let us look polished in minutes.
We all crave styles that stand out without spending hours in front of the mirror. With the right braid, we can keep our hair out of the way and still feel confident and stylish. Let’s unlock simple braids that make long hair our best accessory every single day.
Understanding Easy Braids For Long Hair
We all know how helpful it is to have a few go-to braiding methods in mind for our long hair. Choosing easy braids makes busy mornings a breeze, and it means we never run out of creative ways to switch up our look. Creating these styles doesn’t require advanced skills, just a few clear steps.
Start by brushing out all knots so our hair is smooth and easy to work with. Sectioning our hair neatly is key—use our fingers or a comb to divide it, depending on the braid we want. We grab equal sections and begin crossing or weaving them, keeping some tension without pulling too tight. Depending on the braid, we may add more hair to each section as we work, or simply stick to the strands we’ve already sectioned.
Practice always improves results. Each time we try a new braid, the process becomes faster and our hands learn the rhythm. Securing our ends with hair ties or small elastics ensures braids hold all day. Sometimes, gently pulling the braid edges (pancaking) gives a fuller, more effortless finish—especially for simple styles like the basic three-strand braid or loose side braids.
Picking the right braid matters too. For quick errands, a classic three-strand or simple French braid keeps our hair tidy. If we’re dressing up, a fishtail or Dutch braid adds detail with little extra effort. Braids also work for every hair type, whether our hair’s pin-straight or has lots of waves.
Knowing the basics gives us the confidence to experiment. Adjusting where we start braiding or how tightly we weave lets us create endless looks suited to our day. This flexibility makes easy braids our best friend for long hair, no matter the occasion.
Choosing The Right Tools For Braiding Long Hair
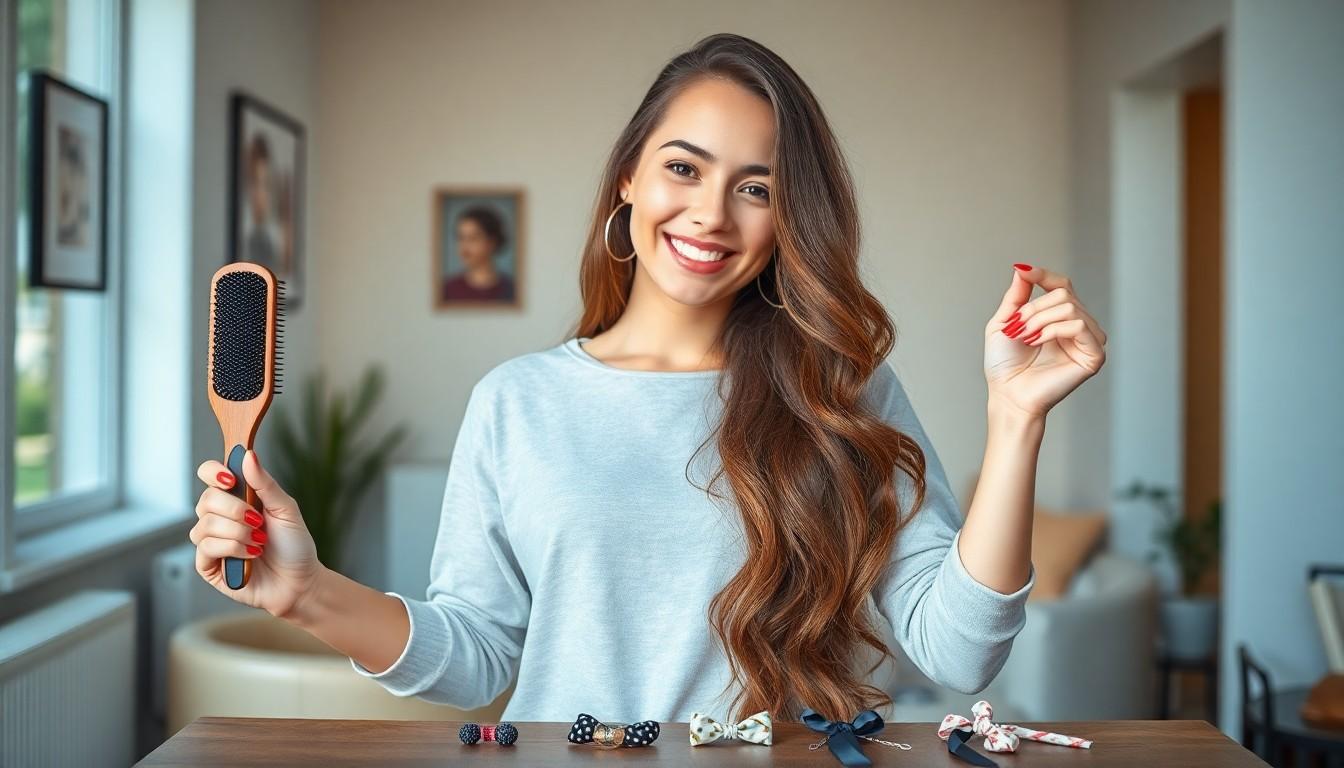
Let’s talk about smart tool choices—they’ll save us so much time and effort with long hair braids. When we grab the best brushes, ties, and accessories, our braids really hold together and look polished all day.
Detangling Brushes And Combs
We always start by running a wide-tooth comb or a detangling brush through our hair. These tools gently work out knots so the hair glides through fingers without snagging. A detangling brush prevents breakage and helps us get smooth, clean sections for any braid style, from classic three-strand examples to intricate fishtails.
Elastics And Hair Ties
Elastics matter a lot when we’re locking braids in place. Choosing small bands that match our hair color keeps the ends discreet and tidy. Often, we rely on several elastics for styles like half-up braids or braid crowns, making it easy to section and secure each part.
Optional Hair Accessories
Bobby pins come in handy for tucking away stray hairs or cleaning up loose edges once the braid’s finished. We use hair clips to keep some strands out of the way, which really helps for multi-section or layered braids. Sometimes, a touch of hair serum or a light spritz of hairspray adds extra shine and hold flat flyaways. We love adding fun, decorative hair ties or beads for a personal twist, especially when dressing up for special occasions or sharing our look on social.
Creating The Classic Three-Strand Braid

We love how the Classic Three-Strand Braid works for any day and every occasion. This go-to style takes just minutes and instantly polishes our long hair. Let’s jump into the simple steps and the tricks that make it flawless every time.
Step-By-Step Guide
First, we start with clean, brushed hair to keep knots and tangles out of the way.
Second, we gather a section of hair from the top of our head, matching the thickness to the look we’re after.
Then, we split this section into three equal strands, holding the ends firmly in one hand.
Next, we cross the right strand over the middle, bringing the right piece to the center.
After that, we cross the left strand over the new middle, building the signature braid pattern.
We keep this right-over-middle, left-over-middle motion going all the way down, repeating the sequence for a consistent look.
If we want a fuller braid, we can add extra hair to each strand as we move, but for a traditional braid or half-up style, sticking to the original section works best.
Once we reach the ends, we secure everything tightly with a small elastic band to prevent unraveling.
Tips For A Neat Finish
Using a wide-tooth comb or brush before starting helps us achieve smooth, even sections for braiding.
Always keeping each strand at the same tension gives our braid a tidy shape with no unwanted lumps.
Stubborn loose ends can be tucked under the braid using gentle fingers to hide any wispy bits.
Securing stray hairs or layers with a few bobby pins ensures our braid holds through a long day.
Spritzing a light mist of hairspray over the finished style locks it in place and keeps frizz away until we take the braid out.
Mastering The French Braid For Long Hair

Taming those extra-long locks can seem tricky, but a French braid makes it simple. With just a few steps, we can turn our hair into a stunning style that fits any moment.
Simple Instructions For Beginners
First, take a small section from the top of our head and split it into three even strands. Next, we cross the right strand over the middle, then bring the left strand over the new middle. After that, pick up a small section from the right, add it to the right strand, and cross over. Repeat this move on the left—gather a little hair, add it to that strand, and cross over the center. We keep adding hair from each side as we go, making sure to follow the same crossing pattern all the way down. Once we reach the end, we’ll quickly secure the braid with an elastic band to keep it all together.
Styling Ideas For Different Occasions
Everyday errands call for a casual French braid worn down or pulled back into a ponytail. This look works perfectly for school, the office, or busy afternoons. Sometimes we want something special; for formal events, starting the French braid higher on the crown and pinning it halfway down makes a gorgeous half-updo ideal for weddings or parties. For those of us who like a playful vibe, leaving a few loose pieces to frame the face with the braid gives that breezy, boho-chic feel—absolutely perfect for concerts or coffee dates. With these simple tweaks, we’ve got options for every setting.
Trying The Fishtail Braid For Effortless Elegance
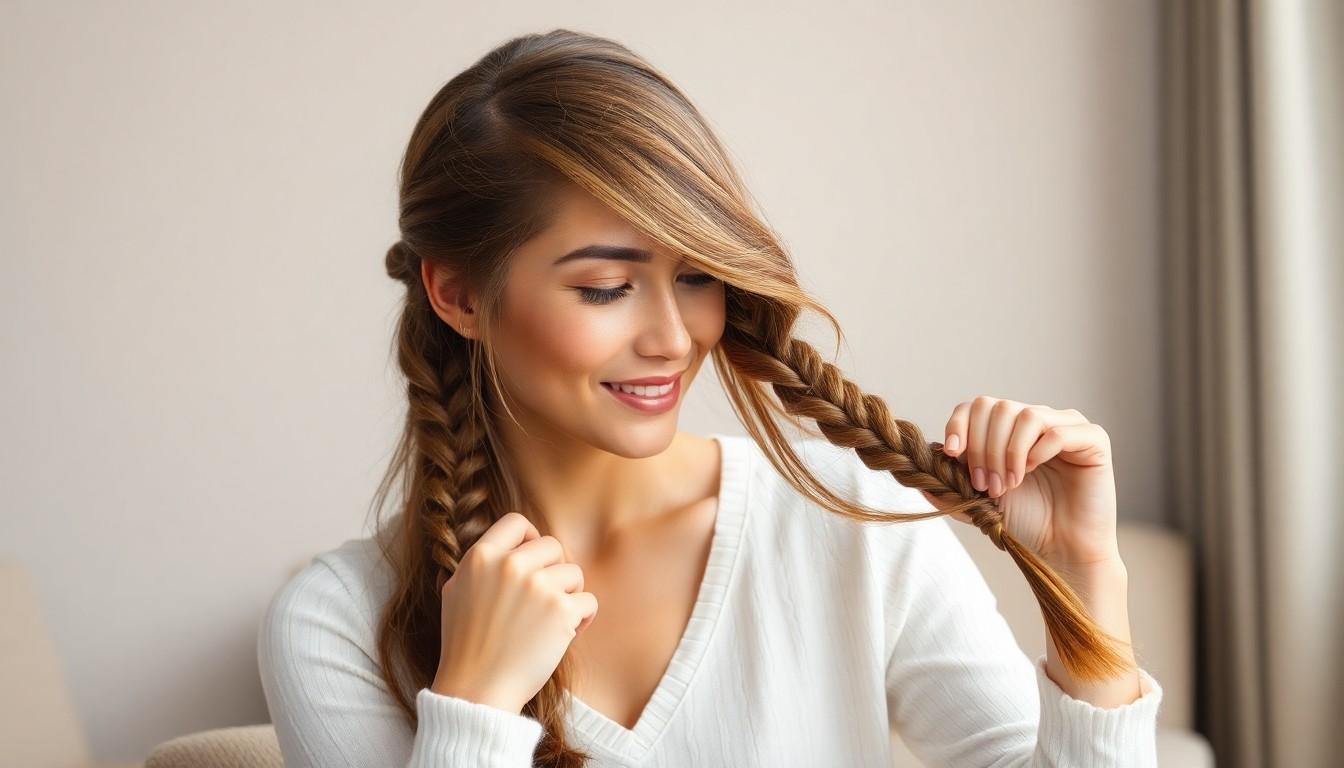
If we want to give our long hair a timeless and polished look with minimal effort, the fishtail braid is our go-to style. Sometimes, just switching up our braid can make all the difference for workdays or special events.
Easy Fishtail Braiding Tutorial
We start by grabbing a small section from the crown and dividing it into two equal parts. Next, we cross a tiny piece of hair from the right side over to the left part. Then, a small section from the left goes over to the right. Keeping a steady rhythm, we repeat this all the way down, always taking new thin pieces from each side before crossing. Throughout the braid, adding hair from both sides keeps everything balanced and textured. After reaching the ends, we use an elastic band to secure the braid, giving it a neat finish with hardly any fuss.
Ways To Enhance The Look
Turning up the volume is simple—we just gently tug the sides to loosen and plump up our braid for a gorgeous, fuller effect. Switching up to a half-updo makes things fun; starting the fishtail at the crown and tying it off halfway lets the rest of our hair flow. Whenever we want a flash of style, adding clips, pins, or a cute braid wrap brings in texture and color. Combining the fishtail with a French or Dutch braid easily creates a more detailed, eye-catching look that stands out. Setting everything with a splash of light hold hairspray keeps strands in place, while brushing with a wide-tooth comb before braiding means every section stays smooth and tangle-free.
Exploring The Dutch Braid For Added Volume
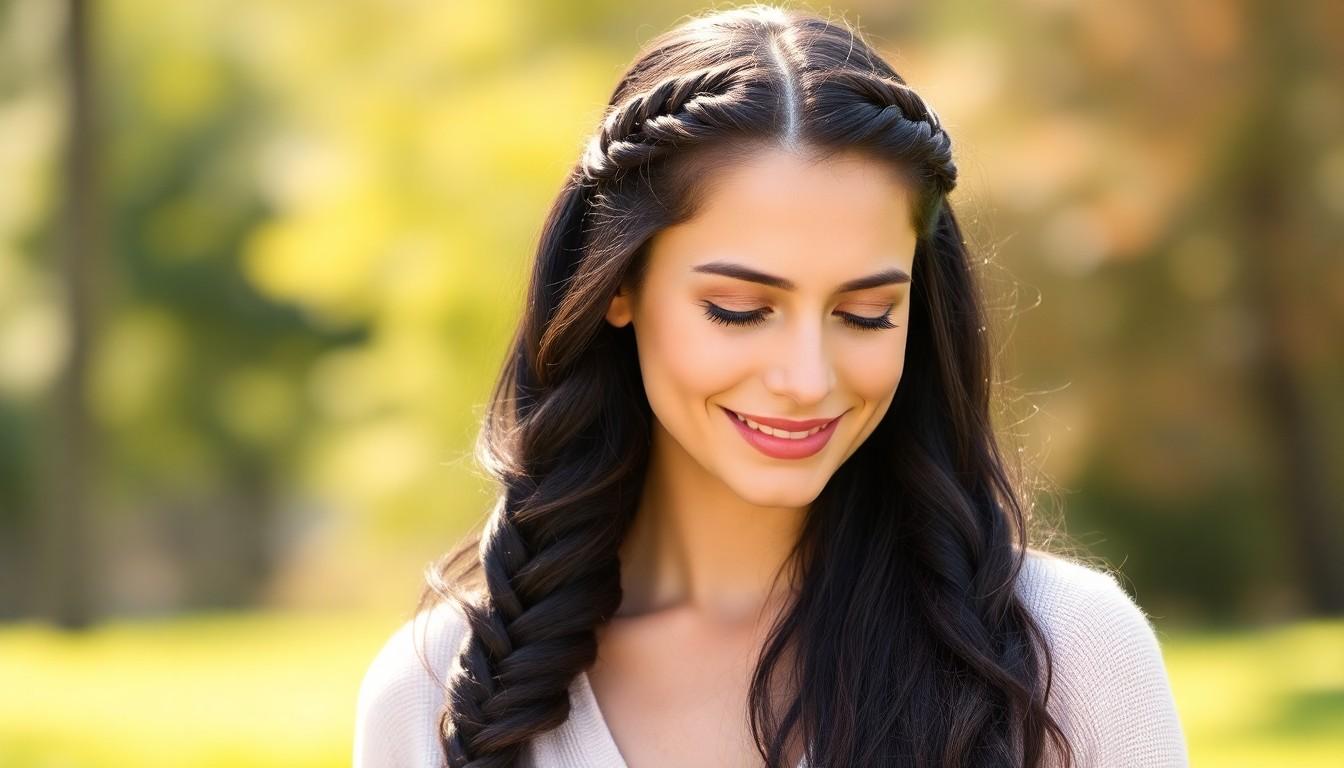
Nothing upgrades our long hair’s natural volume like a Dutch braid. We’ll see this “inside out” style pop off the head with bold definition, showing off the beautiful length and texture we love.
How To Dutch Braid Long Hair
We always start by sectioning a small piece of hair at the crown and splitting it into three equal strands. Instead of the over-and-under motion used for a regular braid, we cross the right section under the middle, then the left one under the middle. Picking up new hair from each side and adding it to the main braid keeps it neat and full as we go. We keep repeating this under-crossing technique, bringing in more hair with each turn, to build that signature Dutch braid shape that sits right on top.
Perfecting The Pancaked Braid Effect
We can take our Dutch braid from basic to bombshell by gently tugging at the finished braid’s edges. This gentle “pancaking” step widens the plaits, creating soft, textured volume that looks effortless but chic. We avoid pulling too forcefully, using just enough pressure to spread out the sections without unraveling our masterpiece. Trying this on both Dutch and other styles like French or fishtail braids gives us big, beautiful braids every time, and a quick mist of hairspray keeps everything in place for hours.
Experimenting With The Rope Braid Technique

Trying the rope braid adds a fresh twist to our easy braids for long hair routine. This method is simple, quick, and gives our look an instant upgrade.
Quick Guide To Rope Braiding
First, we take a small section of our hair and split it evenly into two strands. Next, twisting both strands away from each other is key for creating the rope effect. Then, crossing the right strand over the left secures the twist, and we keep adding new hair into each side as we work down. Each repeat tightens the spiral, giving a polished finish that stands out from traditional styles. Finally, once we reach the ends, we grab an elastic band and tie it off for all-day hold.
Ideal Styles For Everyday Wear
Many of us love accent braids for days when we want something quick and stylish. A rope braid creates a sleek accent down the side or through the middle of our hair, blending easily with loose waves or ponytails. Some prefer taking a 2-inch section for an accent, tucking it behind the ear with a bobby pin for a neat look. Others go for a full rope-braided half-updo, gathering the top half of our hair and twisting it out of the way, giving us a casual yet put-together vibe. Repeating these steps with added hair lets us weave a side braid or even a rope braided ponytail for extra detail. Whatever we choose, rope braids never take longer than a few minutes, making them the perfect choice for rushed mornings or when our style just needs a little boost.
Creating The Half-Up Braided Crown
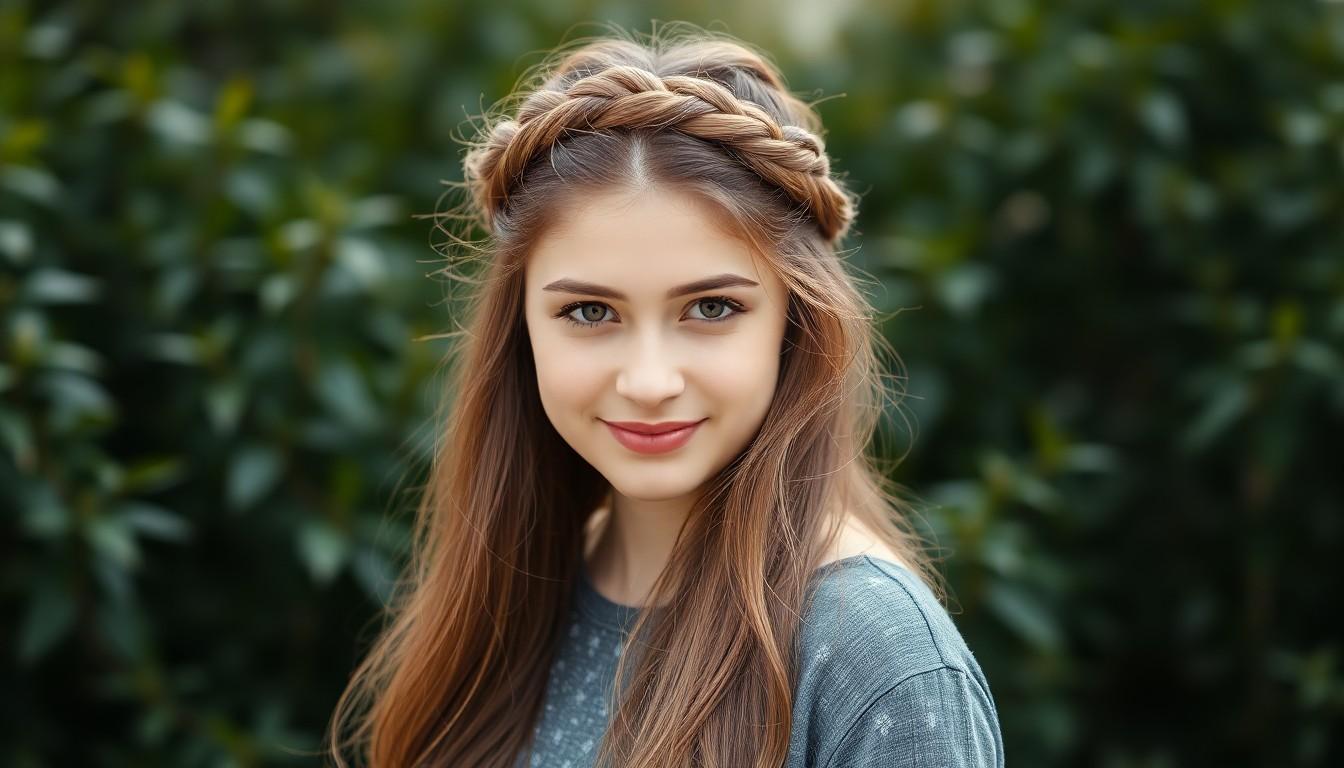
This style gives us a polished, romantic vibe without much fuss. We can pull off the half-up braided crown in a few minutes, making it perfect for both casual and special occasions.
Steps To Achieve A Braided Crown
First, we grab a small section of hair at the crown of our head. Keeping the section just wide enough for coverage helps the braid look neat and balanced.
Next, dividing this hair into three equal parts sets us up for a classic or intricate start. Some of us might prefer beginning with a French or Dutch braid for extra detail.
Starting the braid is easy once we cross the right strand over the middle, then the left over the middle. This basic pattern builds the shape for our crown.
Taking small sections of hair from the sides and adding them as we braid helps the braid lie flat and frame our face nicely.
We secure the braid with a tiny clear or hair-matching elastic. Tucking the end under the braid and pinning it in place hides it for a seamless finish.
Finally, adjusting the braid until it sits comfortably and evenly makes sure our style feels secure and looks great from every angle.
Suitable Accessories For Finishing Touches
Bobby pins come in handy to lock stray hairs into the braid and keep the ends hidden. Choosing pins that match our hair color makes them disappear into the style.
We reach for small, clear hair elastics for a near-invisible finish at the end of the braid.
Hair clips offer help when certain sections don’t lie flat. Picking decorative clips adds a little flair for special days.
Headbands or delicate hair pins give the braided crown extra elegance. These pieces provide both security and a dressed-up look, perfect for celebrations or when we want something extra.
Using these tools and tips lets our half-up braided crown look effortlessly stylish whenever we wear it.
Making The Side Braid For A Casual Look
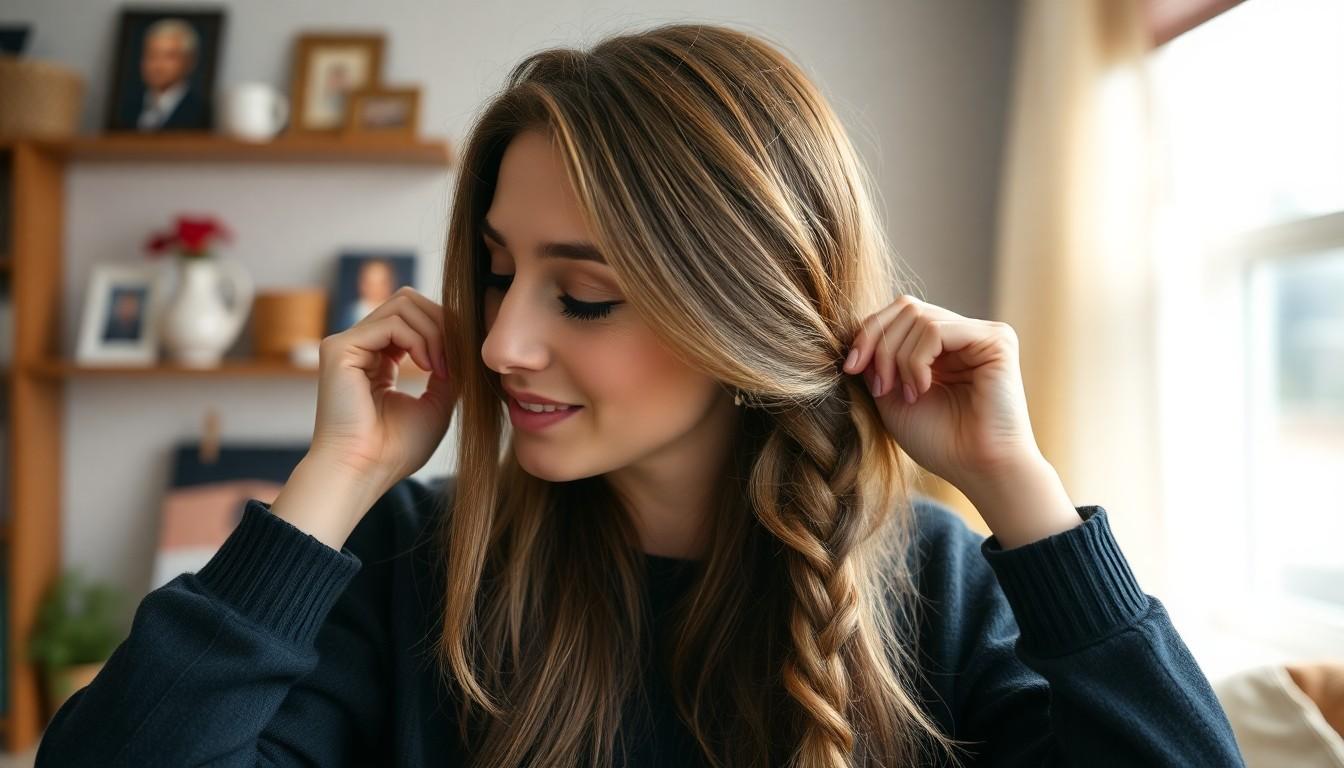
Side braids give our long hair a relaxed, effortless feel and work beautifully for any casual day. We can pull this style together in just a few minutes, even on our busiest mornings.
Quick And Easy Side Braid Steps
First, we grab a small section of hair just above one ear and split it into two equal pieces. Next, we cross the right strand over the left, and then pick up a new section of hair from the left side to add it to the right strand. Swapping all strands to our left hand lets us keep crossing over and adding hair from each side, which keeps the braid laying flat and neat. Once we reach the tips, securing the braid with a clear elastic gives it a smooth, polished finish. We can always tuck in any loose pieces with bobby pins if needed.
Styling Tips For Volume And Hold
Teasing the roots before we start will give our braid an instant boost of volume and make it look fuller. Using a texturizing spray adds both grip and extra body, making it easier to braid and helping it hold longer. After finishing the braid, spritzing on a strong hold hairspray ensures it stays put all day, even when things get hectic. Twisting the strands tightly as we go keeps everything secure, and a few bobby pins can keep stray hairs in line. Choosing a clear or matching elastic at the end makes the braid blend seamlessly into our hair, while a touch of hair serum on the tips controls frizz for a sleek, healthy look.
Enhancing Braids With Accessories
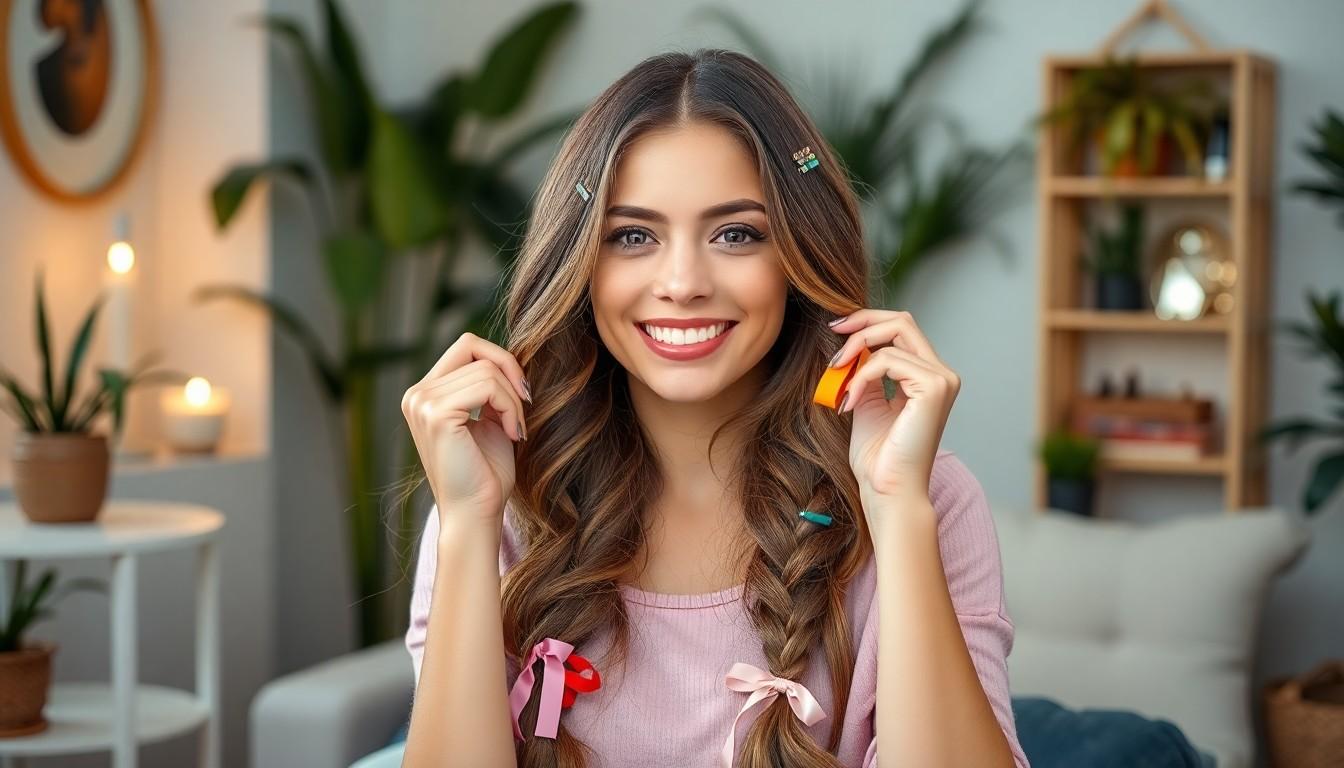
Adding accessories instantly elevates our braids and personalizes every look. We can use simple touches like ribbons clips or pins to make our style suit any event.
Incorporating Ribbons, Clips, And Pins
Weave a ribbon into our braid for an intricate accent, especially with French or Dutch styles. Starting with a plain three-strand or fishtail, threading a thin ribbon along the length adds both color and texture. Some of us prefer finishing the braid with a ribbon tied in a neat bow—a cute and playful touch that works day or night.
Sometimes we grab clips to keep stray hairs back or create a seamless half-up style before braiding. Decorative clips on the crown or along a side braid offer a polished detail. Using small ones lets us tuck away flyaways for a sleeker look.
Relying on bobby pins to secure our braids helps everything stay put, especially for fine or slippery hair. Placing a few decorative pins at the base or lining them along our braid injects instant glamour without much effort. These are perfect for making a braid last through busy days or turning a simple style into a special statement.
Choosing Accessories For Day And Night Looks
Opting for understated accessories gives us a fresh look that feels effortless during the day. A thin, pastel ribbon or discreet clips in soft neutrals blend well with any casual outfit. Focusing on simple designs ensures our braids look elegant but not overdone.
Planning for an evening, we go for more dramatic options. Sparkly hair clips, beaded ribbons, or stylish pins tie in with bolder makeup and formal wear. Matching our accessory’s finish—like sequins or metallics—to our dress or jewelry creates a unified and sophisticated look. Swapping simple clips for decorative pieces makes it easy to take our braid from brunch to the dance floor.
Conclusion
With so many easy braids to try we can always find a style that matches our mood and schedule. Whether we’re heading to work or getting ready for a night out these simple techniques help us achieve a polished look in minutes.
Let’s keep experimenting with different braids and accessories to discover what works best for our hair and personal style. With a little practice we’ll master these looks and enjoy the versatility that braids bring to our long hair every day.
Frequently Asked Questions
What are the main benefits of braids for long hair?
Braids offer a quick, stylish way to manage long hair, making them perfect for busy mornings or special occasions. They help reduce tangling, keep hair neat, and can be easily customized to suit any event or personal style.
Are braids suitable for all hair types and occasions?
Yes, braids work well with most hair types and can be tailored to different occasions. From simple three-strand braids for daily errands to intricate styles for formal events, there’s a braid for every need.
What tools do I need to create easy braids for long hair?
Essentials include a wide-tooth comb or detangling brush, small elastics that match your hair color, bobby pins or hair clips, and optional products like hair serum or hairspray for added shine and hold.
How can I keep my braid looking neat and secure all day?
Start with smooth, detangled hair and maintain even tension while braiding. Use small elastics to secure the ends and consider using hairspray or bobby pins to tame flyaways and hold the style in place.
What is the “pancake” technique in braiding?
“Pancaking” means gently pulling apart the sides of a finished braid to make it appear fuller and more voluminous, creating a softer, more textured look.
How do I choose the right braid for an occasion?
Opt for simple braids, like side or classic three-strand, for casual settings. For formal events, consider more intricate styles like French, Dutch, or braided crowns, and add decorative accessories for extra flair.
What braiding techniques are best for beginners?
The classic three-strand braid is great for beginners, as it’s simple and quick to learn. French and rope braids are also approachable, offering easy ways to elevate your hairstyle.
Can I accessorize my braids? If so, how?
Absolutely! Add ribbons, decorative clips, or jeweled pins to your braid. You can weave a ribbon through the braid for color, or use clips and pins to highlight the style for special occasions.
How do I add volume and hold to my braid?
Tease your roots gently before braiding and apply a texturizing or volumizing spray. This gives the braid a fuller look and helps keep it secure throughout the day.
How often should I practice braiding to improve my skills?
Practice regularly, even just once or twice a week. The more you braid, the more comfortable and creative you’ll become with different styles and techniques.


