We all crave that fresh clean feeling after a good hair wash but sometimes our scalp needs a little extra love. Product buildup and excess oil can leave our roots feeling dull and lifeless. That’s where a DIY scalp scrub comes in—giving us a simple way to revive our hair right at home.
Why spend money on expensive treatments when we can create our own nourishing scrub with ingredients we trust? A homemade scalp scrub not only exfoliates but also helps boost circulation and promote healthy hair growth. Let’s discover how easy it is to give our scalp the care it deserves and enjoy the confidence that comes with truly refreshed hair.
Understanding The Benefits Of DIY Scalp Scrub
DIY scalp scrubs give us simple ways to target our scalp’s needs without expensive salon treatments. Each benefit works together to boost our hair’s health and appearance.
Promoting Healthy Hair Growth
Exfoliating with a homemade scalp scrub lifts away dead skin cells, letting hair follicles breathe. We notice that clean, unclogged follicles create the right environment for strong, healthy hair to grow. Moisturizing ingredients in our DIY treatments, like coconut oil or aloe, can nourish the scalp and lock in hydration, supporting new growth with every use.
Removing Product Buildup And Dandruff
Using styling products daily can cause residue to collect on our scalp and hair roots. Gentle scrubs, for example those using sugar or salt, break down this buildup and help prevent greasy roots. Visible flakes from dandruff respond well to regular exfoliation, since massaging a scrub loosens and removes these loose skin cells as we rinse.
Improving Scalp Circulation
Massaging our scalp with a scrub boosts blood flow straight to the hair roots. Better circulation sends more nutrients and oxygen, which encourages healthier and shinier hair. We find regular use makes the scalp feel more refreshed, improving comfort and supporting overall hair vitality.
Gathering Essential Ingredients For DIY Scalp Scrub

Let’s talk about what we really need to create the perfect DIY scalp scrub at home. With the right mix, we can target exfoliation, hydration, and nourishment for all hair types.
Choosing Natural Exfoliants
We usually grab sugar to gently exfoliate because it effectively removes dead skin and product buildup without scratching our scalp. Sea salt works great when we want a scrub with more grit, especially for tougher buildup. Sometimes, baking soda gets added for its strong cleansing power, making it a go-to for oily scalps or dandruff concerns. Occasionally, we try coffee grounds, but they’re less common in recipes.
Selecting Nourishing Oils
Using coconut oil hydrates and nourishes our scalp, and for finer hair, we often pick sweet almond or jojoba oil to avoid any greasiness. Argan oil is another lightweight favorite that leaves our hair feeling healthy without being weighed down.
Incorporating Soothing Additives
We love adding peppermint oil to our mix for that refreshing tingle and to help boost circulation. Geranium, frankincense, and orange essential oils offer soothing benefits and support a healthy scalp environment. Lemon juice sometimes joins the mix, especially if we’re dealing with oiliness or dandruff, working brilliantly with baking soda. For scalps prone to extra oil, we’ve found charcoal or kaolin clay helpful in soaking up excess sebum and balancing our scalp oils.
Preparing Your DIY Scalp Scrub At Home

We can easily whip up a nourishing DIY scalp scrub with a few simple ingredients from our kitchen. Getting the right proportions and customizing for our unique hair needs ensures we get the best results every time.
Mixing The Right Proportions
Most homemade scalp scrubs start with a blend of sugar and oil. We usually use three parts sugar to one part oil, so mixing 3/4 cup of sugar with 1/4 cup of coconut or sweet almond oil gives us effective exfoliation without irritation. Next, adding half to one tablespoon of apple cider vinegar helps stimulate blood flow and supports scalp pH balance. Including three to six drops of essential oil like peppermint, tea tree, or rosemary delivers added benefits—think soothing, stimulation, and even dandruff-fighting power. We always store our mix in a glass container to keep the ingredients fresh between uses.
Customizing Scalp Scrub For Your Hair Type
Everyone’s scalp is different, so tweaking our scrub makes a difference. For dry or flaky scalps, we mix sugar, ground oatmeal, and a generous squeeze of our favorite moisturizing conditioner to gently exfoliate and hydrate. When working with fine hair, we swap coconut oil for lighter oils like jojoba or sweet almond, keeping strands bouncy and grease-free. If oiliness is our main concern, we stick with coconut oil and toss in a pinch of salt to help absorb excess oil. Battling scalp issues like dandruff or itchiness? We choose tea tree or rosemary essential oils for their antifungal and scalp-stimulating benefits. Trying these simple adjustments lets us create a perfectly customized scalp scrub to target what our hair and scalp need most.
Applying DIY Scalp Scrub Effectively

Let’s talk about how we can get the most out of our DIY scalp scrub and truly upgrade our hair care routine at home. Following this easy process and a few smart tips ensures that every scrub leaves our scalp refreshed and our hair feeling healthier.
Step-By-Step Application Process
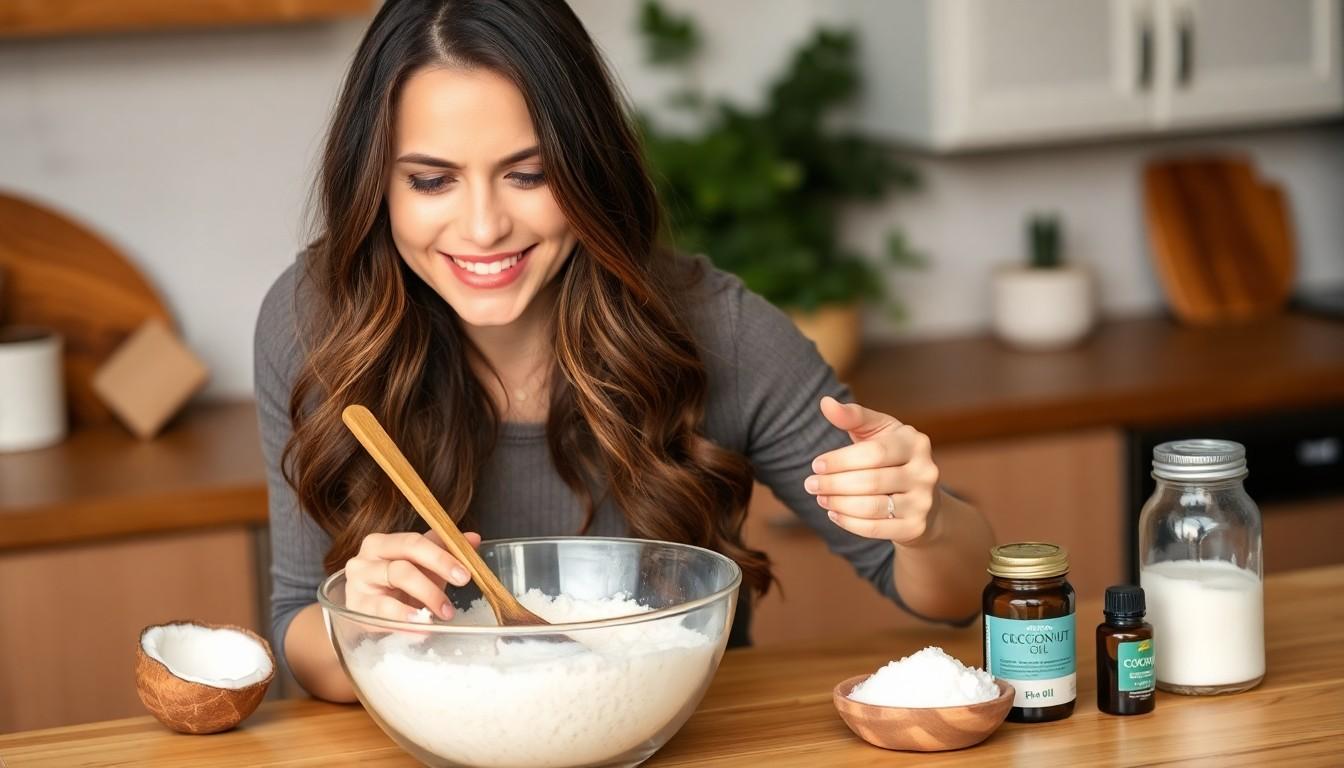
First, we need to prepare our scrub by mixing natural ingredients in a small bowl. Ingredients like sugar for exfoliation, coconut oil for moisture, a dash of apple cider vinegar, and a few drops of peppermint or tea tree essential oil work wonders together.
Next, we always wet our hair thoroughly before applying the mixture. This little step helps the scrub glide on smoother and allows us to reach every part of our scalp.
Then, scooping out 1 or 2 tablespoons of scrub, we gently press it onto our scalp. Using just our fingertips, we massage in small circles, especially over trouble spots like flaky or itchy areas.
After that, giving the scrub some extra time to sit, usually around 10 to 20 minutes, lets the active ingredients break down buildup while we continue with the rest of our shower.
Only after those few minutes do we rinse thoroughly with warm water, making sure every last bit of sugar has left our scalp.
We follow up by washing out any residue with our usual shampoo and then applying conditioner to the lengths and ends for extra softness.
Tips For Massaging And Rinsing
We remember to keep our touch gentle to avoid irritating our skin during the massage. A light pressure ensures we exfoliate without causing any damage.
When focusing on spots with dandruff or buildup, we take a few extra seconds with tiny circles, letting the scrub do all the heavy lifting.
Rinsing with warm, never hot, water keeps our scalp’s natural oils safe. Washing out all traces of the scrub is key so there’s no residue left behind that could irritate or clog pores.
We never overdo it. Applying scalp scrub once every week or two is just right, as over-exfoliating can do more harm than good.
If our hair type tends to be dry—think tight coils or 4C curls—we switch to moisturizing exfoliants. Sugar, oatmeal, or a touch of our favorite conditioner work best instead of salt.
Sticking to these steps and tips lets us enjoy all the benefits of a DIY scalp scrub—clearer, more comfortable scalp, and stronger hair from root to tip.
Exploring Popular DIY Scalp Scrub Recipes

We can transform our scalp care routine with a few straightforward, effective recipes. Each DIY scalp scrub below combines natural exfoliants and oils to target buildup and boost scalp health.
Sea Salt And Coconut Oil Scrub
Sea salt offers powerful exfoliation, sweeping away product residue and flaky skin from our scalp. We add coconut oil for its rich moisturizing properties, making our scrub both effective and gentle. Mixing ½ cup sea salt with a tablespoon each of coconut oil and apple cider vinegar, plus a teaspoon of honey, creates the perfect blend. Massaging this mixture directly into our scalp, we then rinse and follow with our usual shampoo and conditioner. This scrub revitalizes, deeply cleanses, and leaves our scalp feeling refreshed.
Sugar And Tea Tree Oil Scrub
Sugar crystals create a gentle yet thorough scrub that’s ideal for sensitive or irritated scalps. We mix between ¼ and ¾ cup sugar—brown or white works—with 1 to 2 tablespoons of our favorite carrier oil like olive or jojoba. Tea tree oil’s antiseptic properties help fight dandruff and soothe itching, so we add a few drops to the mix. Massaging for three minutes before rinsing, we always finish with our preferred shampoo for best results. This scalp scrub is our go-to for regular exfoliation plus a calm, balanced scalp.
Oatmeal And Honey Scalp Scrub
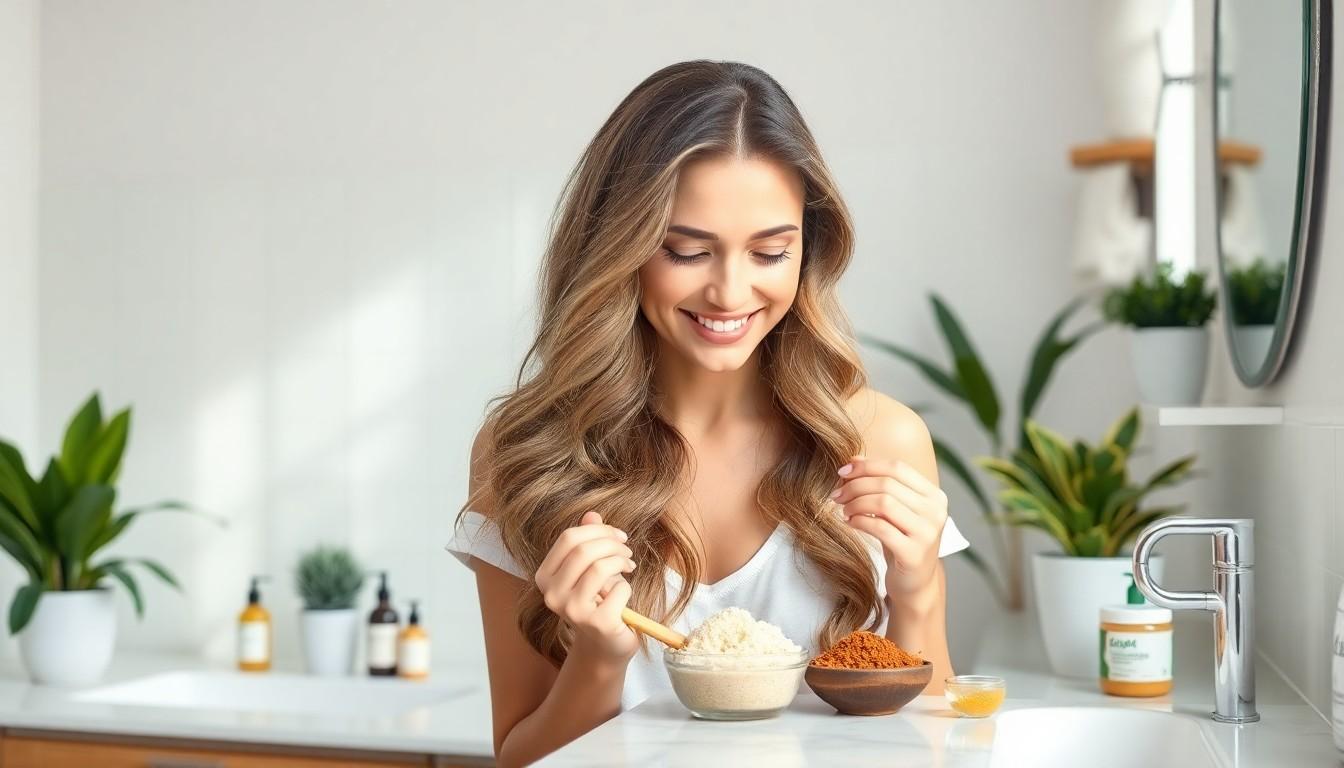
Finely ground oatmeal, combined with brown sugar and honey, creates a calming, hydrating scrub perfect for sensitive or dry scalps. We blend ¼ cup brown sugar, ¼ cup ground oatmeal, and ¼ cup conditioner in a bowl for an easy, spreadable paste. Applying the mixture onto our scalp, we massage gently for three minutes to lift impurities without irritation. After rinsing thoroughly, our scalp feels soft, nourished, and renewed. This option works best when our scalp craves a little extra care and moisture.
Addressing Common Concerns With DIY Scalp Scrubs

DIY scalp scrubs can transform our hair routine, but it’s important to get the basics right. Let’s talk frequency, safety, and how we keep our scalps irritation-free.
Frequency Of Use And Safety Precautions
Most of us see the best results when we use a DIY scalp scrub once a week or every two weeks. This schedule prevents both over-exfoliation and under-exfoliation, keeping our scalp balanced without irritation. If our scalp feels sensitive, starting with scrubs every two or three weeks helps us adjust comfortably and safely.
Before getting started, we always do a patch test. This simple check lets us spot possible allergies or irritation before applying a scrub fully. Gently massaging the scrub on a wet scalp, using circular motions with our fingertips or a shower brush, keeps our routine soothing and effective. Hard scrubbing isn’t necessary—gentleness prevents damage. After massaging, a thorough rinse with lukewarm water removes every trace of exfoliant, and following up with our usual shampoo and conditioner leaves everything fresh.
Recognizing And Preventing Irritation
Carefully choosing our ingredients makes a big difference. Brown sugar, oatmeal, and jojoba oil are known for being gentle and soothing, which helps us avoid harsh reactions. We skip ingredients we’re allergic to or those with harsh chemicals.
Redness, itching, or burning are key warning signs, and we don’t ignore them. If any irritation shows up, we pause the scrub and try another formula or talk to a dermatologist. When a sugar scrub feels too rough, switching to a gentler oatmeal-based paste offers relief and helps the scalp recover. Reducing how often we scrub or tweaking ingredients keeps our scalp comfortable and healthy.
By knowing what to watch for, we can enjoy all the benefits of a DIY scalp scrub while looking after our hair’s comfort and vitality.
Enhancing Your Hair Care Routine With DIY Scalp Scrub

Adding a DIY scalp scrub to our normal routine can transform the way our hair looks and feels. Let’s talk about pairing this treatment with others and how to keep our scalp in top shape for the long run.
Pairing With Other DIY Hair Treatments
We find the best results when matching our scalp scrubs with other hair-loving treatments. After exfoliating, using a deep conditioning hair mask—like one made from coconut or argan oil—locks in moisture and soothes the scalp. Sometimes we add a few drops of coconut or olive oil right into the scrub, turning the exfoliation step into a nourishing boost. Pairing with a pre-shampoo oil treatment, such as jojoba oil, helps hydrate both hair and scalp after the scrub lifts away debris. Lighter oils work perfectly for those of us with fine or oily hair, keeping strands fresh but never weighed down. By combining these steps, we maintain balanced care, encouraging both clean roots and hydrated ends.
Maintaining Long-Term Scalp Health
Regular use of a DIY scalp scrub keeps our scalp’s environment balanced. Every time we exfoliate, we remove product buildup, sweat, and flakes while promoting blood flow to feed hair follicles. Establishing a rhythm—usually two or three times each week for most of us—lets us see fewer flakes and less oil on our scalp throughout the month. Staying consistent with shampoo, conditioning, and occasional oiling preserves these scalp benefits and fosters hair growth and resilience. Noticing how our own scalp reacts after each scrub means we can tweak our formula or frequency, switching ingredients like sea salt for sugar if our skin feels sensitive. This mindful approach ensures our DIY routine doesn’t just cleanse but also sustains our healthiest scalp and strongest hair over time.
Conclusion
Taking the time to care for our scalp with a DIY scrub can truly transform the way our hair looks and feels. With just a few natural ingredients and a simple routine we can keep our scalp balanced comfortable and ready for healthy hair growth.
Let’s embrace the benefits of homemade scalp scrubs and make them a regular part of our hair care. Our scalp deserves the same attention as the rest of our body—so let’s give it the nourishment and care it needs for lasting hair vitality.
Frequently Asked Questions
What are the main benefits of using a DIY scalp scrub?
A DIY scalp scrub helps exfoliate dead skin, remove product buildup, and balance oil, which can lead to healthier hair growth and a refreshed scalp. It also boosts blood circulation, allowing more nutrients and oxygen to reach the roots for stronger, shinier hair.
How often should I use a scalp scrub?
It’s recommended to use a scalp scrub once a week or every two weeks. Overusing can irritate your scalp or strip its natural oils, so adjust the frequency based on your hair type and scalp needs.
Can I customize a scalp scrub for my hair type?
Yes, you can personalize scalp scrubs using different exfoliants and oils. Sugar and coconut oil work for most, while lighter oils suit finer hair, and ingredients like clay or charcoal can control excess oil for oily scalps.
What ingredients are best for a natural DIY scalp scrub?
Popular natural ingredients include sugar or sea salt for exfoliation, coconut or almond oil for hydration, and essential oils like tea tree or peppermint for extra scalp benefits. Add oatmeal or honey for sensitive or dry scalps.
How do I apply a homemade scalp scrub correctly?
Wet your hair, gently massage the scrub into your scalp using small circles, and let it sit for 10–20 minutes. Rinse thoroughly with warm water and follow up with shampoo and conditioner to remove all residue.
Can DIY scalp scrubs help with dandruff or flakes?
Yes, regular use of scalp scrubs can help reduce dandruff and visible flakes by removing buildup and soothing irritation, especially when ingredients like tea tree oil or baking soda are included in the recipe.
Is it safe to use DIY scalp scrubs if I have a sensitive scalp?
It can be safe if you use gentle ingredients like oatmeal or honey and perform a patch test first. Avoid harsh exfoliants, massage gently, and discontinue use if you notice irritation or discomfort.
What are some popular DIY scalp scrub recipes?
Three effective recipes include:
- Sea Salt and Coconut Oil Scrub for deep cleansing,
- Sugar and Tea Tree Oil Scrub for dandruff relief,
- Oatmeal and Honey Scrub for sensitive or dry scalps.
Should I pair a scalp scrub with other hair treatments?
Yes, combining scalp scrubs with deep conditioning masks or pre-shampoo oil treatments can boost moisture, soothe the scalp, and promote healthier, shinier hair.
What should I do if my scalp feels irritated after a scrub?
If you experience itchiness, redness, or discomfort, stop using the scrub immediately. Switch to gentler ingredients, reduce frequency, or consult a dermatologist to ensure your scalp remains healthy.


