Thinking about giving your hair a bold new look? Full head highlights might be just what we need to transform our style and boost our confidence. This technique doesn’t just add dimension—it lights up every strand for a fresh, radiant appearance that turns heads wherever we go.
We all crave that salon-fresh glow and full head highlights deliver exactly that. Whether we want sun-kissed brightness or a dramatic change, this guide will help us unlock the secrets to achieving flawless highlights that suit our vibe. Let’s jump into the industry of color and discover how we can make our hair dreams a reality.
Understanding Full Head Highlights
Let’s jump into how full head highlights work and why they’re a favorite for all-over hair dimension.
What Are Full Head Highlights?
Full head highlights brighten strands throughout the entire head, not just sections. We see salons apply lighter or contrasting shades in foils across every layer, from roots to ends. This approach means every part of our hair gets a boost, which makes the color look vibrant and balanced. Stylists use this technique to refresh all-over color, soften regrowth, and create seamless transitions between shades.
Benefits of Choosing Full Head Highlights
Choosing full head highlights gives our hair maximum dimension that single-process color can’t match. We notice fuller, more radiant hair with depth in every style—waves, curls, or straight. Color blends beautifully, so regrowth lines appear softer and more natural. We love how highlights amplify shine and make features pop, offering everything from sun-kissed warmth to bold dramatic change. If our goal is completely refreshed or lighter hair, full head highlights deliver that transformation.
Exploring Different Highlighting Techniques
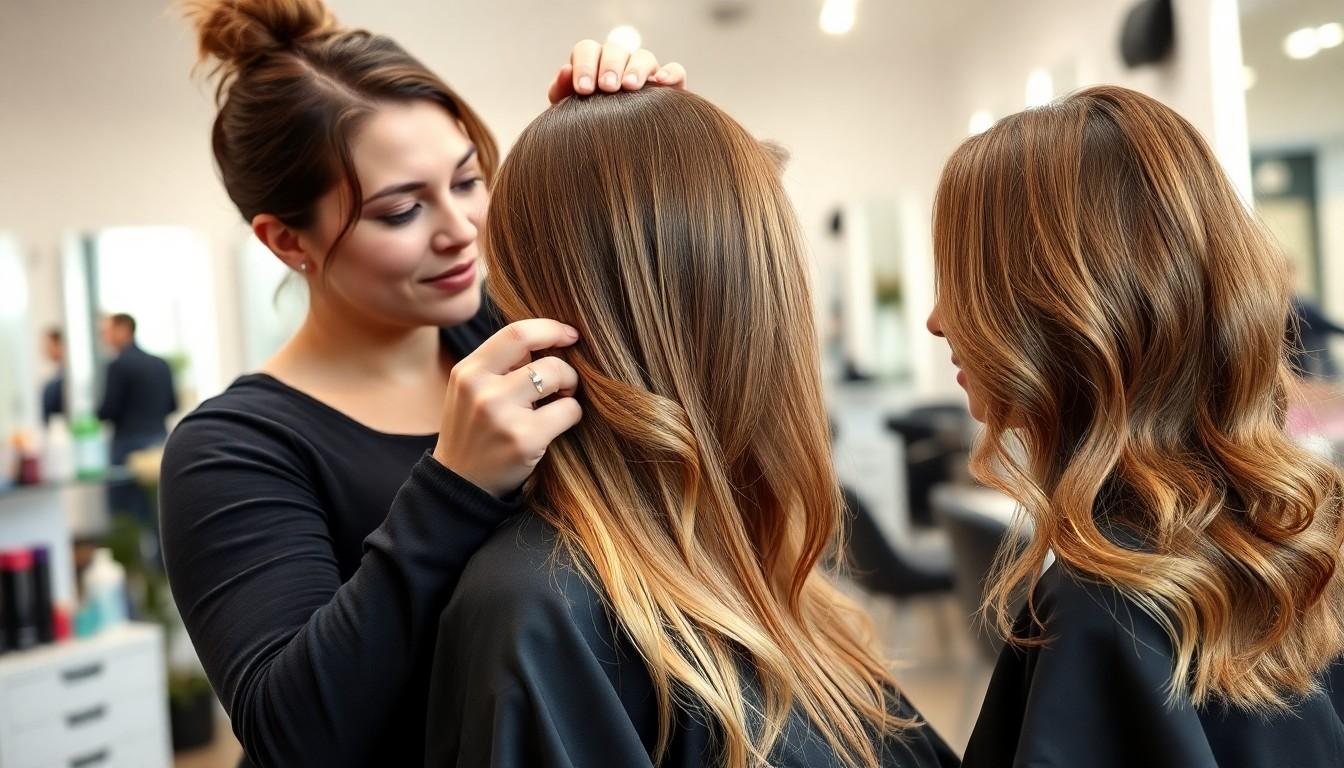
When we’re deciding how to achieve flawless full head highlights, it’s key to know the benefits of each major highlighting technique. Each method gives us a different finish, lets us control placement, and helps us meet our color goals with precision.
Foil Highlights
Foil highlights let us get dramatic, luminous results by sectioning hair and applying color with controlled precision. Stylists use foils to wrap each colored section, keeping the lightener or dye separate from the rest of the hair. This prevents color bleed and ensures uniform processing. Our clients love foil highlights because they deliver even coverage and can be customized for all hair types and highlight intensities. Modern foil techniques like full head foiling or strategic sectioning help us create a vibrant, flawlessly blended look.
Balayage Highlights
Balayage offers a softer, sun-kissed look by allowing us to paint color right onto the hair in sweeping motions. With no foils used, we can blend highlights seamlessly into natural shades and avoid harsh lines. This approach mimics how the sun naturally lightens hair, so each highlight looks unique and dimensional. Our stylists recommend balayage for a more lived-in, low-maintenance finish, as the highlights grow out subtly without a strong root line.
Cap Highlights
Cap highlights rely on a plastic cap with small holes where strands are pulled through and colored. We sometimes choose this method for a uniform, classic highlight effect. While cap highlighting doesn’t allow for as much customization as foils or balayage, it still lifts and lightens with reliable all-over consistency. Some clients with short hair or those wanting a traditional highlighted look may prefer this method, even though it’s less common in today’s salons.
Each option lets us personalize full head highlights so they flatter every face and lifestyle. Picking the right technique comes down to the result our clients want, their hair texture, and how much maintenance they prefer.
Choosing the Right Shade for Your Highlights
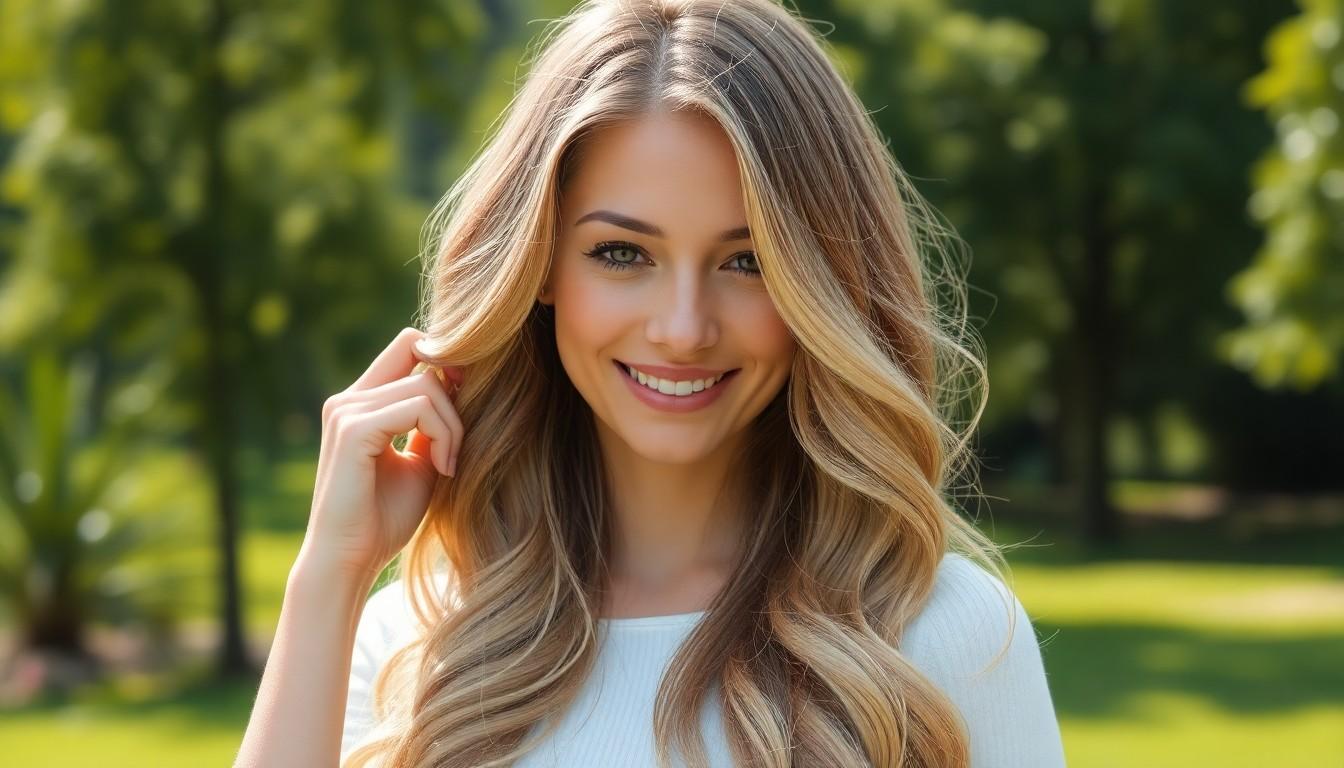
Finding the perfect shade for full head highlights really makes a difference in the final look. We’ll want to think about our natural hair color, as well as how certain shades play next to our skin tone. Trends are fun, but picking a color that flatters us is key to a stunning result.
Matching Highlights to Your Natural Hair Color
Starting with our base, it’s important to pick highlight colors that harmonize with what we already have. Think of brown hair—honey blonde, caramel, or even ash blonde highlights pop beautifully and bring a natural shine. Sometimes we crave more contrast, and that’s where foils work best, making highlights stand out in sharp streaks. Other times, we want everything to look effortless. In that case, choosing balayage lets us blend highlights softly into our brown base for an understated, natural vibe.
Considering Skin Tone and Undertones
Next, our skin tone really affects how highlight colors appear. Those of us with cool skin tones—think pale skin with hints of pink—look incredible with highlights that have bluish or purple undertones. Ash blonde or platinum highlights can bring out the coolness in our complexion and add glow. Friends with warm skin tones—olive or golden—usually find that golden, honey, or caramel highlights sync perfectly with their look. These tones add vibrant warmth that reads sun-kissed and natural, not forced.
Popular Highlight Color Trends
Everyone’s noticing how popular balayage highlights are right now. This hand-painted method gives us subtly blended color and an easy, low-maintenance grow-out. Honey blonde and caramel highlights keep trending, especially for anyone who wants to warm up their look and add dimension without going overboard. Recently, ash and platinum shades are everywhere for those of us craving bolder, lighter, or even icy hair that stands out. Each option offers a customizable way to refresh our style while staying true to what makes us feel confident.
Preparing for Full Head Highlights

Let’s set ourselves up for perfect full head highlights by getting our hair ready and knowing exactly what to discuss at our appointment. Knowing these details makes all the difference in our results.
How to Prep Your Hair Before Your Appointment
First, let’s schedule a thorough consultation with our colorist. By talking through our hair color goals and preferred effects, we help personalize the highlight technique for our needs.
Next, we should check our hair’s health. Keeping our hair free from harsh chemicals or hot tools leading up to the appointment lets color set more evenly. If our hair’s been colored or treated recently, sharing that info with our colorist helps them tailor the process.
Washing our hair one or two days ahead of time works best. Clean hair allows the highlights to process properly, but keeping a bit of natural oil helps protect our scalp during coloring. It’s better to skip heavy conditioners right before our visit.
Arriving accessory-free also simplifies things. Leaving out clips, bands, or pins ensures our hair can be easily sectioned and highlighted.
Questions to Ask Your Colorist
We can make the most of our session by asking a few key questions. Starting with our color goals, we’ll want to know which highlight shades look best with our skin tone and hair type, then clarify whether we’re after bold streaks or a softer touch.
Learning about application technique is important too. Asking if our colorist plans to use foils or freehand painting gives us an idea of how our highlights will look and last.
We shouldn’t forget to talk about processing time. Knowing how long we’ll be in the chair helps us plan the rest of our day.
It’s smart to bring up aftercare before we leave the salon. Getting recommendations for sulfate-free shampoos and color-safe conditioners keeps our highlights bright and healthy.
Planning for maintenance keeps our color looking fresh. We’ll want to ask how often touch-ups will be necessary—full head highlights usually need a refresh every 8 to 12 weeks, depending on our hair growth.
Finally, discussing potential risks, like dryness or allergic reactions, ensures we’re prepared for any outcome and can address concerns early.
Preparing our hair and bringing the right questions sets us up for full head highlights we’ll absolutely love.
Experiencing the Highlighting Process
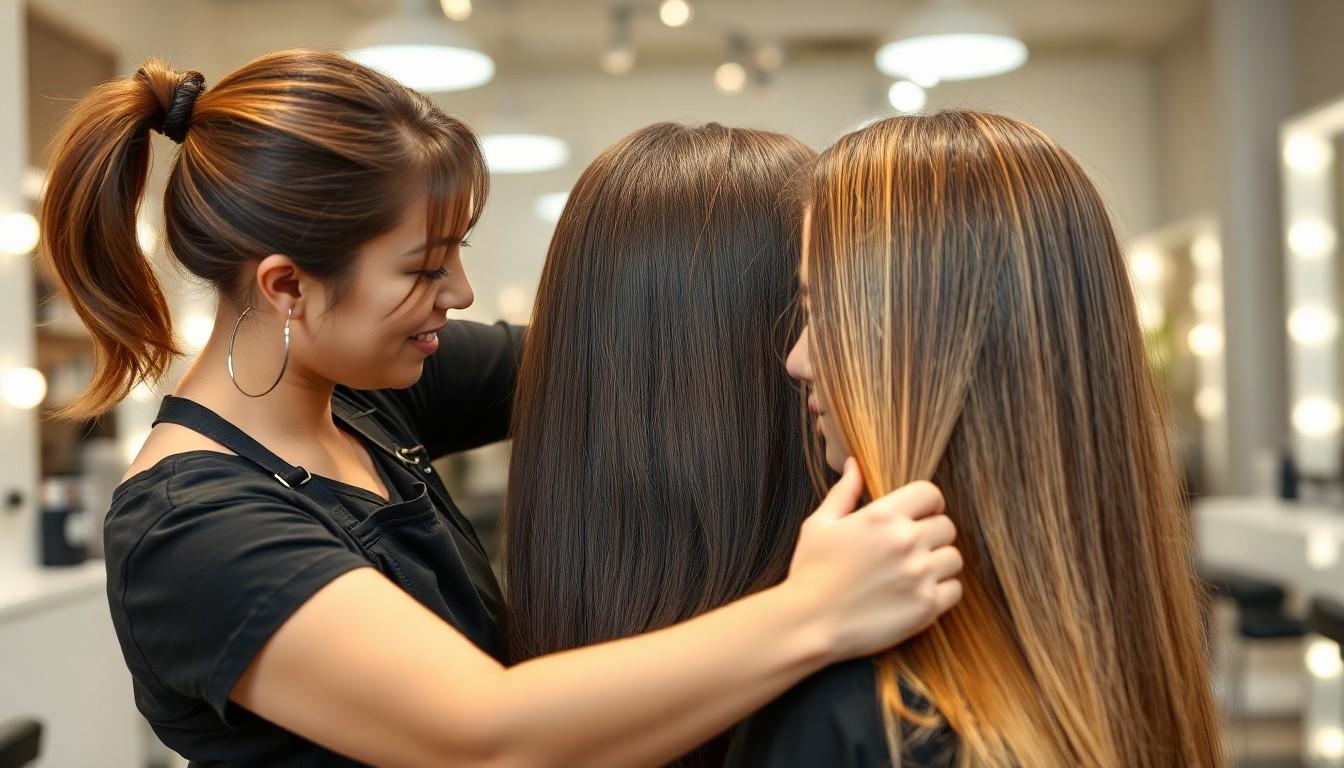
Getting full head highlights can seem overwhelming, but knowing what happens at each stage helps us walk in with confidence. Let’s break down the process, what to expect, and how long we’ll actually be sitting in the chair.
Step-by-Step Salon Process
We start with a consultation to choose our color palette and pinpoint the look we want. Stylists section hair into parts that suit our texture and goals, making sure every strand gets attention. Next, the application technique comes into play—some of us might see foils placed carefully, while others watch a freehand approach for a softer blend. Each method ensures even and uniform coverage from roots to tips. Once the color is on, it processes for a set time to lift and tone our highlights perfectly. Rinsing with sulfate-free shampoo and color conditioner follows, sealing in our fresh look. Styling is the last step, where stylists blow-dry or style our hair to show off the dimension and color contrast.
What to Expect During Your Appointment
Consultation always kicks things off, so we’ll spend time discussing color goals with the stylist and agreeing on the exact shade and style. Sectioning and color application usually take the bulk of the appointment, especially if our hair is thick or long. Processing time varies but often runs between 20 and 45 minutes, giving the highlights time to develop. To lock in vibrancy, stylists rinse out color, apply sulfate-free shampoo, then follow up with a color-protection conditioner. We then move to the styling chair for a blowout or customized finish that lets our highlights shine.
How Long Full Head Highlights Take
Appointment times really depend on our hair type and the complexity of the highlights we want. On average, we should prepare for a session lasting between 2 and 4 hours. Thick or long hair, detailed color work, or dramatic changes can stretch the appointment even longer. Choosing foils instead of a freehand method also impacts timing, sometimes adding to the total duration. Below, see a breakdown to help us plan ahead:
| Stage | Time Estimate |
|---|---|
| Consultation | 10–20 minutes |
| Sectioning and Application | 40–90 minutes |
| Processing | 20–45 minutes |
| Rinsing and Conditioning | 10–20 minutes |
| Styling | 20–45 minutes |
| Total | 2–4 hours |
Each operator works a bit differently, but we can expect to invest a good amount of time for stellar, all-over highlights.
Caring for Full Head Highlights
Looking after full head highlights keeps our hair vibrant and healthy. With just a bit of care and the right products, we can keep our highlights looking salon-fresh every day.
Recommended Hair Care Products
Color-protecting shampoos and conditioners should be our go-to. We always reach for formulas that say “for color-treated hair” since they lock in vibrancy and prevent fading. Using a color-improving mask once or twice a week breathes new life into highlights and keeps the brightness intact. To fight dryness, we love hydrating serums and moisturizing masks, which strengthen hair and keep color from looking dull.
Tips to Maintain Color and Prevent Fading
Washing our hair with cool or lukewarm water helps slow fading. We make sure to use color-depositing products like shampoos or masks between salon visits so our highlights stay punchy and fresh. Grabbing a hat or spritzing on hair SPF when heading out shields our highlights from harsh sun. If we’re planning to swim, popping on a swim cap or applying a pre-swim treatment protects our color from chlorine damage.
Scheduling Touch-Ups and Maintenance
We like scheduling touch-ups for full head highlights every six to eight weeks to keep everything looking even and bright. For those who want roots always covered, booking root touch-ups every four to six weeks does the trick. Getting a color refresher treatment between full applications is a game changer—salons can revive brightness and shine without a total color process. Regular trims should always be on our calendar, too, as they stop split ends from making highlights look uneven or dull.
Avoiding and Fixing Common Highlighting Mistakes

Highlighting mistakes happen, but we can easily avoid and fix them with the right know-how. Let’s explore how to keep our full head highlights bright and brass-free with both at-home remedies and professional fixes.
Preventing Brassiness and Unwanted Tones
Choosing the right toner after our highlights makes all the difference, since this step neutralizes yellow or orange undertones that often appear. We recommend using a toner that matches our highlight shade to keep color crisp and natural. Regular touch-ups, about every 6 to 8 weeks, stop highlights from fading into unwanted tones and ensure consistent color throughout. By switching to color-correcting shampoos and conditioners, like violet or blue formulas, we can keep brassiness at bay between salon visits.
| Preventative Step | Benefit | Example Product/Method |
|---|---|---|
| Apply toner | Neutralizes brass or yellow tones | Professional toning services |
| Use color-correcting wash | Maintains cool highlight tones | Violet shampoo, blue conditioner |
| Schedule touch-ups | Keeps color vibrant, prevents fade | Salon appointments every 6-8 weeks |
Home Remedies and Professional Corrections
At home, we can start with violet shampoo a couple of times a week to easily counteract brassy hues. Color-depositing masks come in handy if we want to maintain vibrancy without extra salon trips. Treating highlighted hair to regular hydration using deep conditioning treatments helps preserve shine and prevent dryness that makes color look dull.
If brassiness or unwanted tones persist, a professional color correction at the salon quickly fixes the problem. Our stylists apply a new toner or adjust the highlights—sometimes switching to balayage or tweaking the technique for a more natural blend. Re-toning after the initial highlight service is another reliable way to achieve our perfect color, especially if the first attempt wasn’t quite right.
Staying proactive with these fixes ensures our full head highlights always look vibrant and fresh.
Weighing the Cost and Commitment
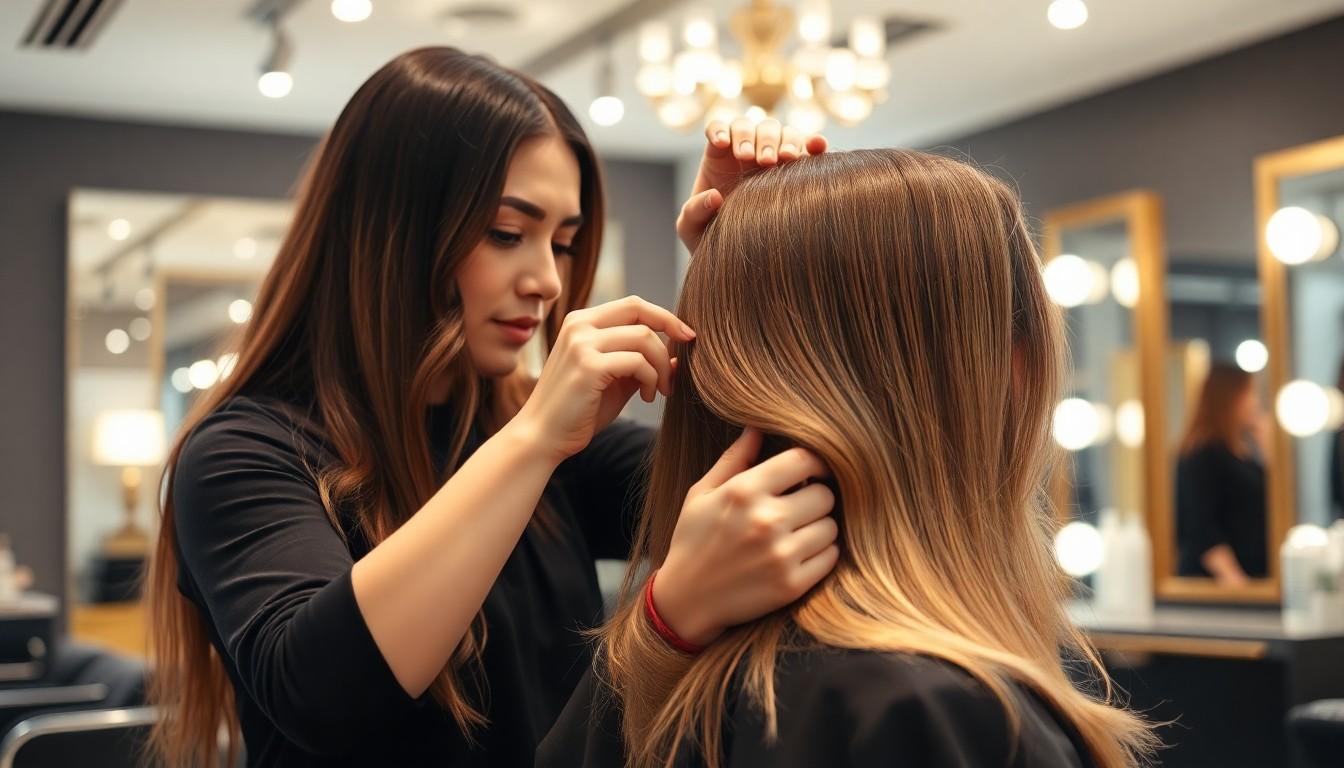
When we decide to get full head highlights, both our wallets and our calendars need careful attention. Let’s break down what we’re realistically signing up for, so we can plan ahead, avoid surprises, and get the results we’re after.
Full Head Highlights Cost Breakdown
First, the initial commitment comes with the price tag. We usually pay anywhere from $100 to $300 or more for the first application, depending on hair length, thickness, our salon’s reputation, and our stylist’s experience. Some premium salons in bigger cities push these numbers even higher.
Touch-up sessions keep our highlights looking fresh. These appointments roll around every 8 to 12 weeks and cost between $50 and $150 each time. The frequency depends on how fast our hair grows and how much root contrast we prefer to avoid. Every session typically lasts a few hours, so it’s not just about the money—it’s about our time, too.
| Service | Average Price Range | Frequency | Typical Session Length |
|---|---|---|---|
| Initial Full Head | $100 – $300+ | Once (starting) | 2–4 hours |
| Touch-Up/Root Maintenance | $50 – $150 | Every 8–12 weeks | 1–2 hours |
Comparing Full Head vs. Partial Highlights
Second, we should think about the options. Full head highlights coat every strand, giving us a complete color change and the brightest transformation. This means more time in the chair and higher bills, but the payoff is maximum brightness and coverage. Every few months, we’ll see more noticeable growth at the roots, so frequent touch-ups become a must to keep that even, luminous look.
Partial highlights take a gentler approach. Our stylist targets exact sections—usually the top layers or ends—so we spend less on each visit, generally under $150. Because fewer strands get colored, our natural hair blends better with the highlights, regrowth is less obvious, and maintenance becomes less demanding. This route works well for adding subtle dimension or face-framing pops of light, making a nice option if we want a lighter update with a simpler routine.
| Highlight Type | Coverage | Avg. Price | Maintenance Frequency | Who’s It For |
|---|---|---|---|---|
| Full Head | All-over, every layer | $100 – $300+ | Every 8–12 weeks | Dramatic, uniform results |
| Partial | Top layers, face-framing | $50 – $150 | Every 12+ weeks | Subtle, low-commitment |
Choosing between these methods depends on the look we want, the time we can invest, and our color maintenance preferences. When we know both the costs and the commitment, the choice becomes a lot easier.
Conclusion
Choosing full head highlights is a bold way to refresh our look and showcase our personal style. With so many techniques and shades available we can create a custom look that suits our features and lifestyle.
When we’re ready to brighten up our hair it’s essential to trust a skilled colorist and invest in proper aftercare. By staying informed and proactive we can enjoy vibrant healthy highlights that turn heads wherever we go.
Frequently Asked Questions
What are full head highlights?
Full head highlights involve lightening strands all over the head using foils and lighter shades, adding brightness, dimension, and vibrancy to your hair for a bold and balanced look.
How do full head highlights differ from partial highlights?
Full head highlights cover the entire head, making your hair noticeably brighter, while partial highlights focus on the top and front, offering a softer, more natural effect with less maintenance.
Which highlighting technique is right for my hair?
The best technique depends on your desired look, lifestyle, and hair type. Foil highlights are dramatic, balayage offers a natural blend, and cap highlights work well for classic, uniform results.
How do I choose the best shade for highlights?
Pick highlight shades that complement your natural hair color and skin tone. Warmer tones like honey or caramel suit most brunettes, while cool or ash shades work well for lighter hair.
How should I prepare for a full head highlights appointment?
Schedule a consultation, discuss your hair goals, check your hair’s health, wash your hair a day or two before, and arrive with clean, accessory-free hair for the best results.
What should I expect during the highlights process?
The appointment begins with a consultation, followed by sectioning, foiling or freehand coloring, processing for 20–45 minutes, and finally, rinsing and styling. Expect to spend 2–4 hours in total.
How long do full head highlights last?
Full head highlights generally last six to eight weeks. Touch-ups and regular trims help keep the color fresh and prevent noticeable regrowth.
How do I care for full head highlights at home?
Use sulfate-free, color-protecting shampoos and conditioners, wash with cool water, deep condition regularly, avoid excessive sun or chlorine, and schedule routine touch-ups to keep highlights vibrant.
What are common mistakes with highlights and how can I avoid them?
Mistakes include brassiness and uneven color. Avoid them by using proper toners, purple shampoos, regular touch-ups, and consulting a professional if you want corrections or major color changes.
How much do full head highlights cost?
Initial full head highlights typically cost $100–$300+, depending on hair length and salon reputation. Maintenance touch-ups range from $50–$150 every 8–12 weeks.
Can full head highlights damage my hair?
Any chemical process can cause damage if not done properly. Minimize risk by visiting an experienced colorist, conditioning regularly, and following aftercare instructions diligently.


