We all crave that effortlessly chic hairstyle that turns heads and feels timeless. The milkmaid braid is the answer—a look that’s both romantic and practical, perfect for everything from brunch dates to summer festivals. With its crown-like effect, this braid instantly elevates any outfit and keeps hair neatly in place all day.
If you’ve ever admired this style but thought it was too complicated, you’re not alone. The good news? Creating a beautiful milkmaid braid is much easier than it looks, and we’re here to guide you every step of the way. Let’s unlock the secrets to mastering this classic braid so you can rock it with confidence whenever you want.
Understanding The Milkmaid Braid: Style Overview
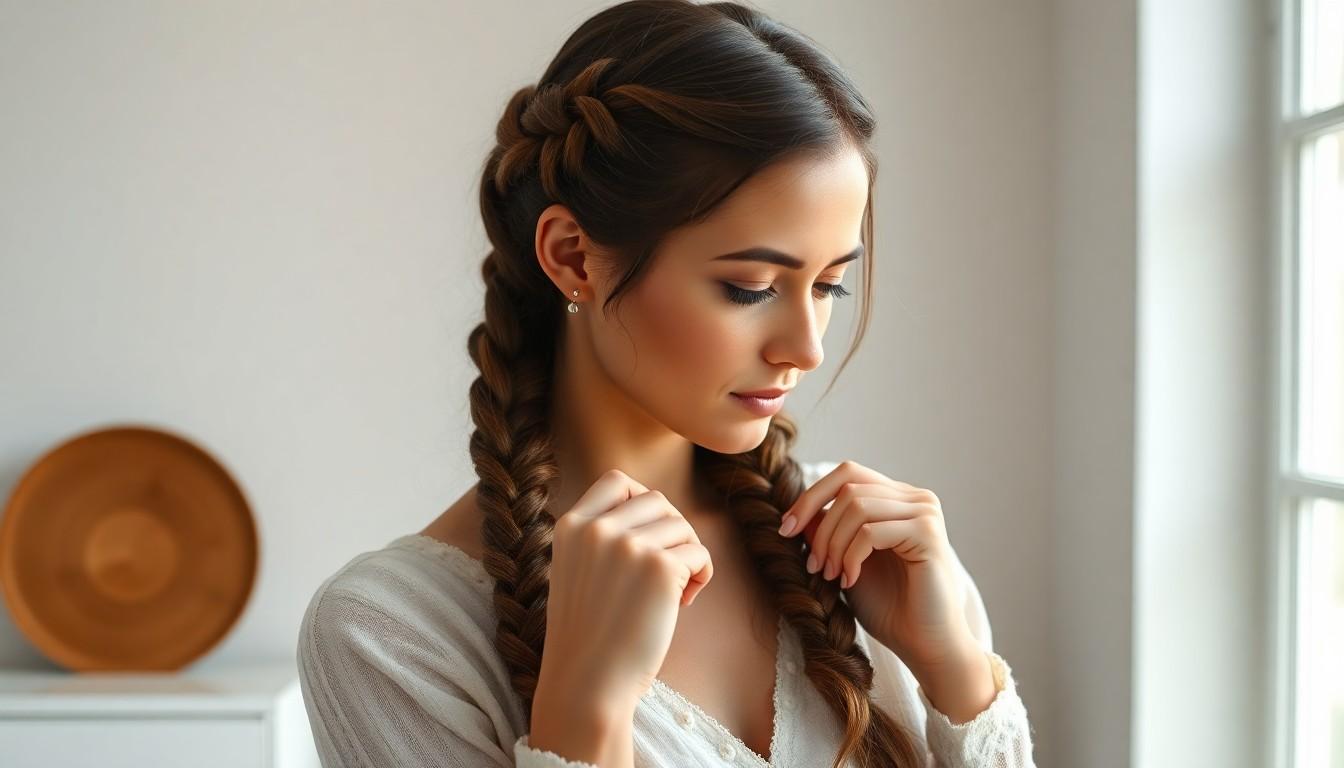
We see the milkmaid braid as a timeless choice that blends romance and practicality. This hairstyle keeps our hair neatly in place while instantly elevating any look, whether we’re running errands or dressing up for an event. Everyone admires how it frames the face with softness, thanks to braids that sweep across the crown and secure around the head. Some styles use two classic braids pinned across the top, while others create a single plait for a sleeker twist. We love how versatile the milkmaid braid can be—accessories like ribbons, flowers, or pins work well to match different outfits or occasions. Trying this look doesn’t require special skills. Our arms won’t tire since the technique builds on simple three-strand braiding before pinning hair up at the crown for that signature effect. Versatility remains the standout feature, making it easy for us to adapt this braid for casual afternoons or formal evenings in just a few extra minutes.
Gathering Your Tools And Products For The Milkmaid Braid
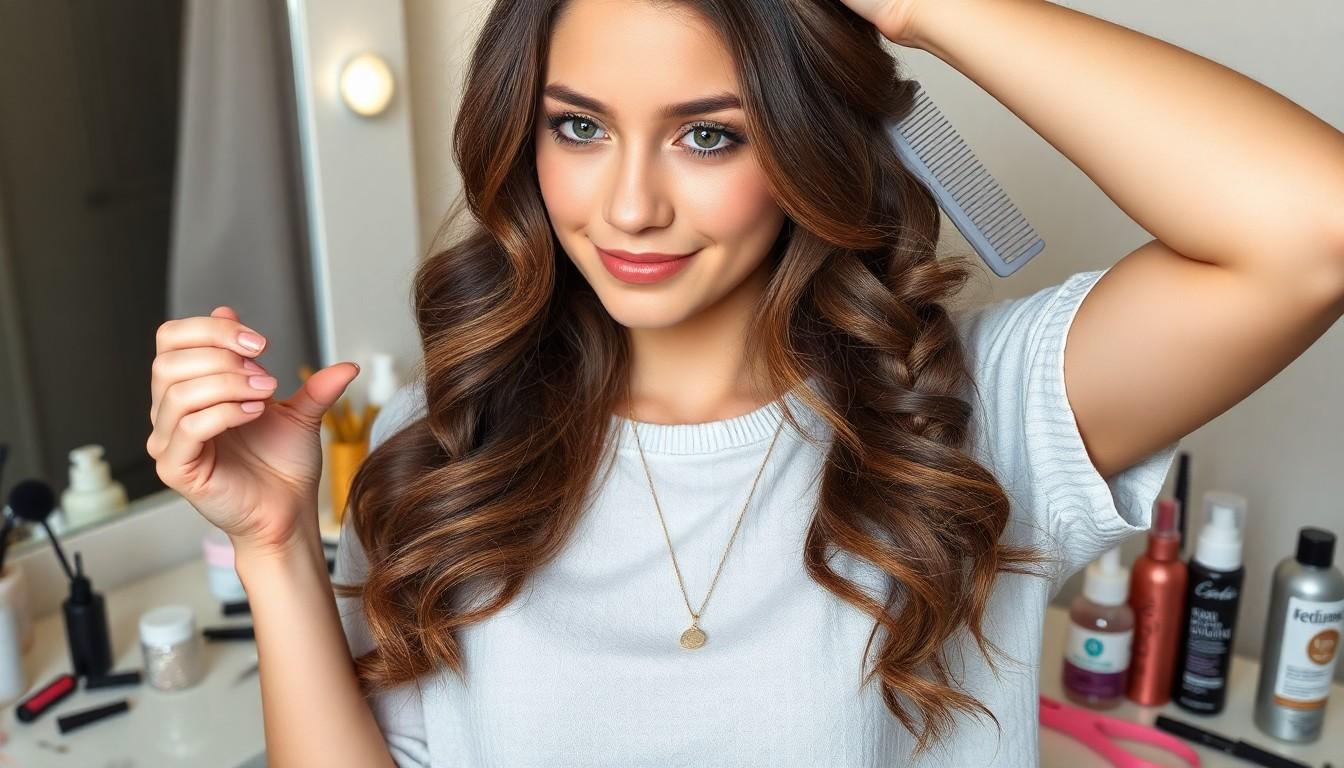
Let’s get all our supplies together before we start braiding. Having the right tools and products will make styling much smoother and help our milkmaid braid stay put.
Essential Hair Tools You’ll Need
We always reach for bobby pins first—six is usually enough to keep those braids secure, especially when they match our hair color for a seamless finish. Hair ties or elastics come next; we like using fabric-covered or clear types to blend in with our hair. Next, a good comb or brush helps us create a sharp middle part and smooth out tangles, giving us that polished base. Sometimes we’ll also grab a crochet needle if we want to gently pull apart the braid for a softer, fuller look.
Helpful Styling Products For A Lasting Hold
Texturizing spray works wonders when our hair feels too soft or silky, adding grip so the braid won’t slip out. Sometimes, we smooth a little light hold styling cream onto our roots to add just enough control without getting stiff. If frizz or flyaways pop up, a serum like Nexxus Ultralight Smooth Cream tames everything and ups the shine. Finally, a light hold hair spray seals our style in place, helping our milkmaid braid last all day no matter what we’re up to.
Prepping Your Hair For The Perfect Milkmaid Braid
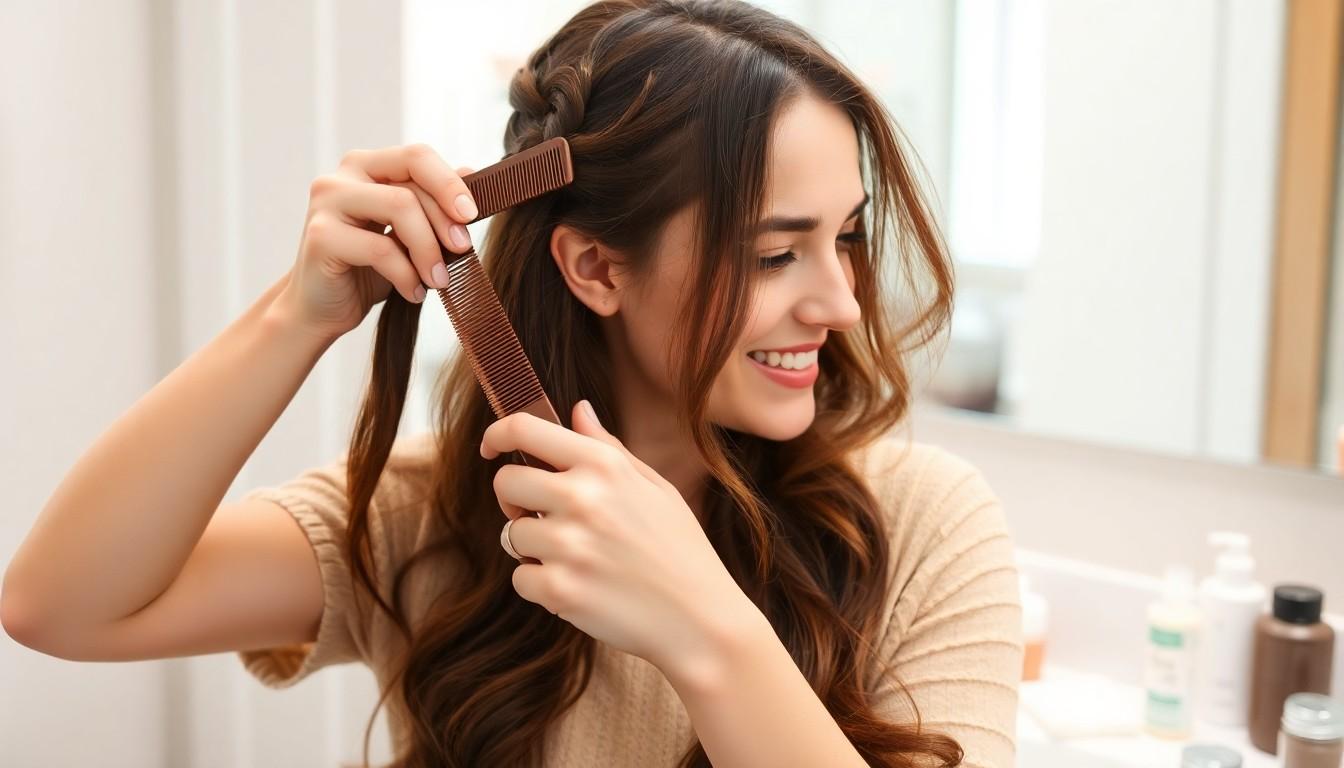
Let’s get our hair ready for braiding so the style stays put and looks its best. Milkmaid braids need the right foundation—starting with texture and tangle control.
Washing And Drying Tips
We skip freshly washed hair for this style. Hair that’s a day or two past washing has better grip, which helps the braid hold together and prevents slippage. Our go-to on silky or very clean hair is a texturizing spray. Products add just enough grit for the plaits to lock in place, making styling much easier.
Brushing And Detangling Techniques
Parting our hair right down the center gives milkmaid braids their signature symmetry. We trust a rat-tail comb for sharp lines, but any fine-tooth comb works well to create that neat split. Before braiding, we always run a wide-tooth comb or a detangling brush through our hair. This step smooths out knots and minimizes snagging so the braid comes together smoothly. For frizz and flyaway control, we use a tiny bit of Nexxus Ultralight Smooth Frizz Defy Cream Serum or a similar product throughout our hair. A dime-sized amount is usually perfect for soft hair control. Some of us curl our hair with a 1-inch barrel before braiding for extra texture and volume—a quick trick that can give the milkmaid look a little boost.
Creating The Classic Milkmaid Braid Step-By-Step
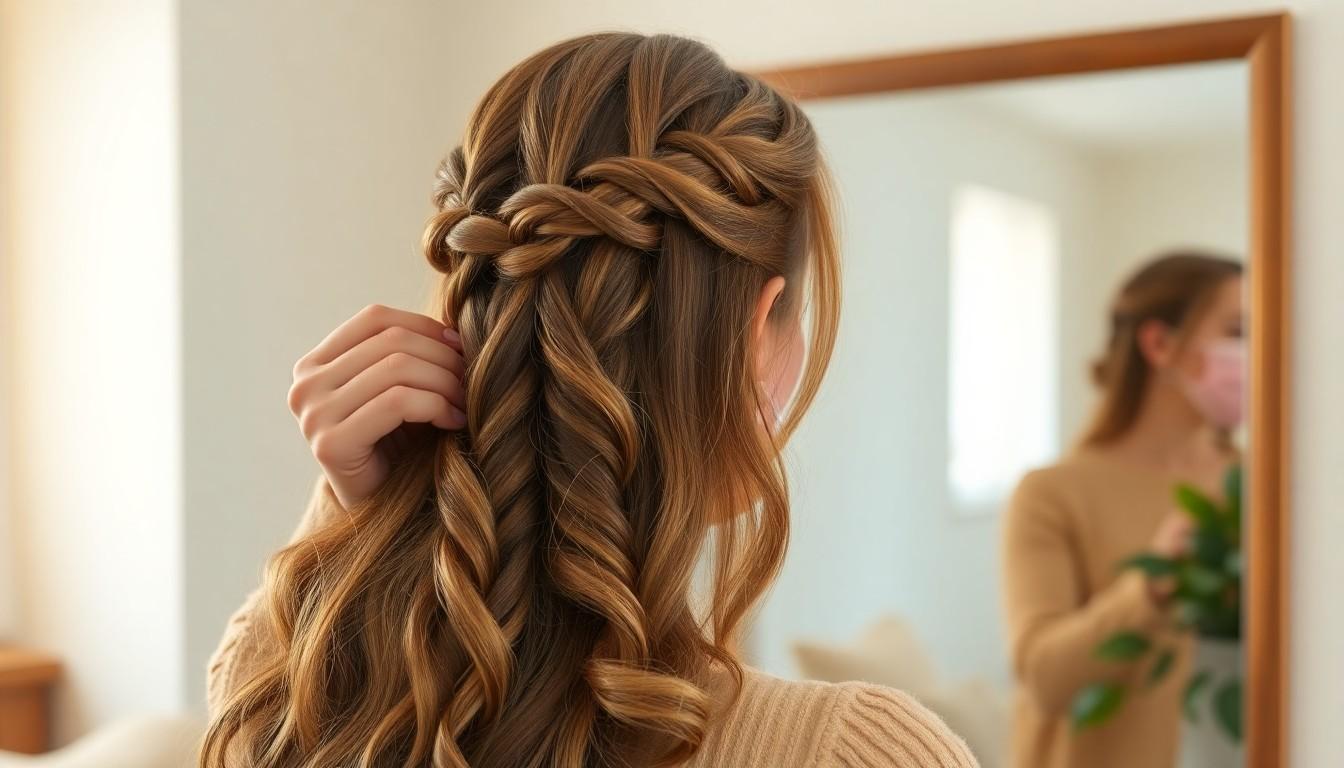
Let’s walk through exactly how to create that beautiful milkmaid braid. We’ll keep it simple and share tips so you get a timeless and secure look every time.
Parting And Sectioning Your Hair
We begin by parting our hair right down the middle. This way, both sides end up even, which is key for that balanced milkmaid braid. If we’d rather skip a visible part, it works just as well to divide the hair into two sections at the back. For best results, we make sure each section has the same amount of hair—this keeps the braids symmetrical and the final result neat.
Braiding Each Side With Ease
Next, we take one section and split it into three equal parts. Starting close to the ear or the back of our head, we braid those sections all the way to the ends and secure them with a hair tie. Doing the same on the other side, we keep our braids snug but not too tight. For a fuller, more relaxed look, we gently pull the braid strands outward—pancaking the braid creates that popular, voluminous style.
Crossing And Pinning For The Signature Look
Once both braids are ready, we pick up the right braid and drape it over the crown, pinning it securely above the opposite ear. The left braid follows in the same way, crossing over the head and tucking its end under the right braid for a seamless look. We slide bobby pins into the middle of each braid and add extras anywhere we feel the braids need more hold. Tucking in loose ends or any flyaways with a few more pins gives the braid a finished, classic milkmaid appearance that stays in place all day.
Customizing Your Milkmaid Braid For Different Hair Types
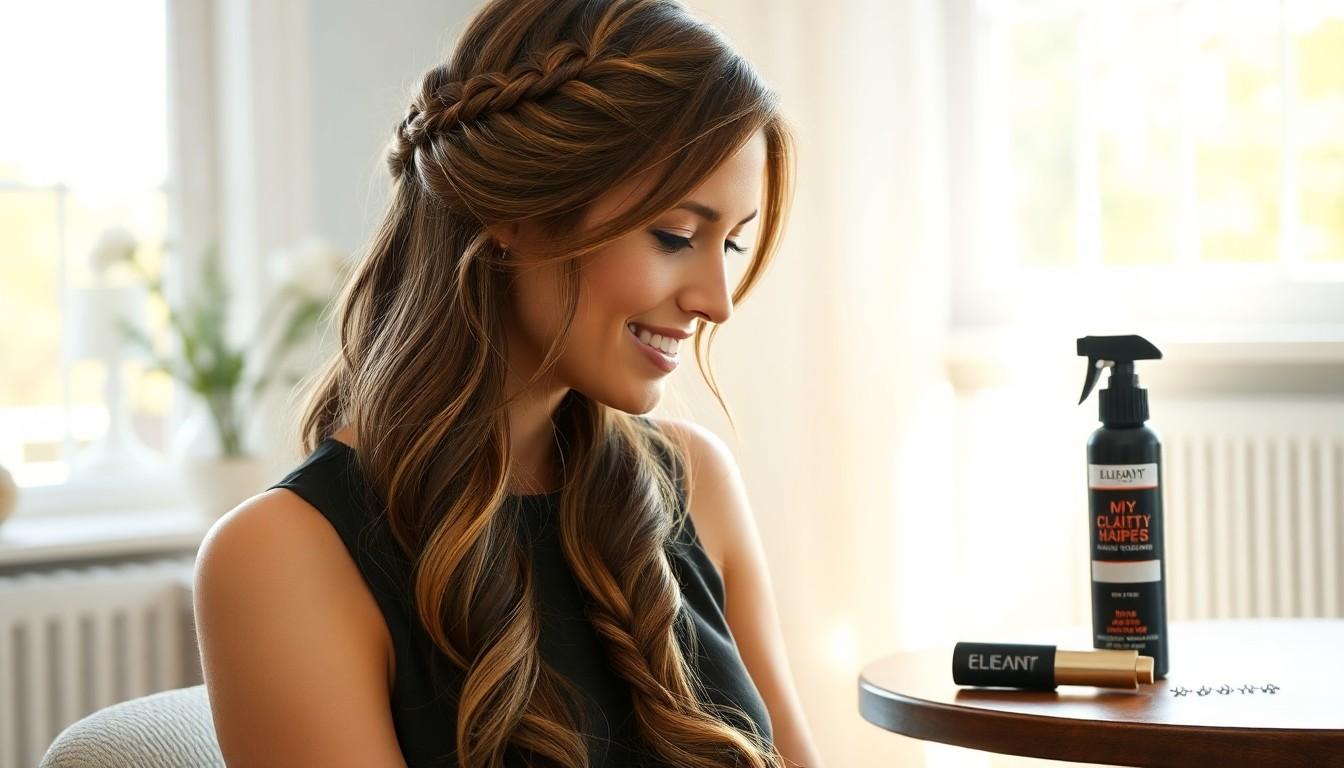
We can easily adapt the milkmaid braid whether our hair is short, long, or layered. Each hair type calls for just a few exact adjustments, helping us get those pretty, face-framing braids to stay put all day.
Tips For Short Hair
Achieving a secure milkmaid braid with short hair means working with tighter plaits. We get a neater finish and better hold by braiding snugly from root to tip. Sometimes our hair doesn’t stretch far enough to create the traditional milkmaid crown. In that case, we mimic the look with a “faux” version, using small sections and plenty of bobby pins for reinforcement. Texturizing spray adds volume and grip, giving our shorter strands the texture they need to stay braided. When we blend the ends into our natural hairline and anchor everything with bobby pins similar in color to our hair, the finished style appears full and well-secured.
Techniques For Long Or Layered Hair
Long or layered hair gives us more braiding options and lets us experiment with style. Starting by parting our hair down the middle, we divide it into two equal sections and braid using a classic three-strand method or try an upside-down stitch for a twist. Securing each braid with a fabric-covered or invisible elastic keeps the look polished. Silky or fine hair benefits from texturizing spray—this quick step ensures our plaits hold their shape and don’t unravel. To create that beautifully undone vibe, we gently tug the weaves loose for extra volume. Layered hair prefers slightly looser braids so the layers blend in rather than stick out, keeping things soft and natural. Wrapping both braids over the crown and tucking the ends securely underneath lets us achieve a seamless, elegant milkmaid effect. Placement of six bobby pins through the middle of each braid, sliding them toward the back, helps our style last and looks much more effortless.
Enhancing Your Milkmaid Braid With Accessories

Let’s take our milkmaid braid to the next level with some easy, eye-catching accessories. By weaving in the right touches, we can make this classic style truly our own—perfect for special occasions or just adding personality to our look.
Flower Crowns And Decorative Pins
Flower crowns add a gorgeous, whimsical vibe to any milkmaid braid. We can choose fresh blooms for weddings or elegant events, or grab artificial flowers for a style that lasts all day. Some of us like tucking individual flowers right into the braids, while others prefer slipping a full crown on top for that fairy-tale finish. Decorative pins are another stylish option. Using bobby pins that match our hair, we keep the braids in place, but decorative pins with pearls or gems turn function into fashion. Placing these pins where the braids tuck under creates a polished and secure look.
Ribbons And Scarves For Added Flair
Ribbons instantly brighten up our milkmaid braids and let us match our hair to any outfit. We might weave a thin ribbon through the braid as we go, which creates a colorful striped effect. Some days, tying a scarf around the crown over the braid gives a bold, bohemian vibe that stands out in photos. If we want a subtle upgrade, tying a narrow ribbon at the end of each braid before pinning makes a sweet finishing touch. Scarves and ribbons allow us to mix up our style with minimal effort and lots of creativity.
Troubleshooting Common Milkmaid Braid Mistakes
Sometimes our milkmaid braids don’t turn out as expected, but with a few quick tweaks, we can get flawless results. Let’s tackle the most common mistakes and keep our braids looking polished all day.
Fixing Slipping Or Loose Braids
Slipping braids often happen when hair feels too silky or soft. We should always use a texturizing spray before braiding to add grip and prevent slipping. Clear elastics or fabric-covered hair ties match our color best and keep the braid ends from unraveling. After braiding, we can loop bobby pins directly through the middle of the braid, not just around the outside—this provides stronger hold, especially at the base, a few inches up, and at the end of each braid. Hair spray with a light hold gives extra security. Finally, tucking braid ends underneath before pinning helps everything stay tight and hidden for a seamless finish.
Addressing Uneven Or Messy Results
Uneven braids often start with a crooked part. When making a middle part, let’s double-check both front and back in a mirror for symmetry. We find a smoothing serum handles frizz or flyaways fast if we spot them. Braids feeling too thin? Carefully pulling apart each strand with a crochet needle or just our fingers adds volume and softness. A simple trick for a neater look is tucking ends underneath the braid and securing with bobby pins, hiding any uneven pieces. Taking a few moments here ensures our milkmaid braid looks even and beautifully styled from every angle.
Maintaining And Refreshing Your Milkmaid Braid All Day

Every day calls for a braid that lasts, so keeping ours looking fresh is essential. Texture gives the braid grip, and texturizing spray keeps everything from sliding loose, especially if we have silky strands. Parting the braids correctly at the start helps keep them symmetrical and balanced throughout the day, so it’s worth taking time there.
Securing the sections is key. We always use fabric-covered or invisible hair ties at the ends so nothing sticks out. Three bobby pins per braid—one at the base, one midway, and one at the tail—keep the plaits firmly anchored, hiding the pins in the braid’s middle.
A spritz of light hold hair spray after pinning everything down maintains shape and adds extra hold. When flyaways pop up or humidity tries to undo our work, a touch of Nexxus Ultralight Smooth Frizz Defy Cream Serum tames the frizz for a polished finish.
If everything looks too neat by midday, we soften the braids for a modern edge. Pancaking or gently pulling at the braid’s sides loosens the weave and makes things more voluminous. Sometimes we use a crochet needle or just our fingers to tease sections out for a relaxed vibe.
Whenever pieces start slipping or pins feel loose, we quickly tuck ends under the plait and add a new bobby pin where it’s needed. That way, the style never loses its classic, romantic look, no matter how busy our day gets.
Conclusion
Mastering the milkmaid braid opens up endless possibilities for creative and polished hairstyles. With just a bit of practice and the right tools we can easily elevate our everyday look or add a romantic touch to special occasions.
Let’s embrace the versatility of this classic braid and make it our own by experimenting with different textures and accessories. With a little effort and the tips we’ve shared a flawless milkmaid braid is always within reach.
Frequently Asked Questions
What is a milkmaid braid?
A milkmaid braid is a classic hairstyle where braided sections of hair are wrapped over the top of the head, creating a crown-like effect. It’s known for its romantic and timeless look, while also keeping hair neatly secured.
Is the milkmaid braid suitable for all hair types?
Yes, the milkmaid braid can be adapted for most hair types, including short, long, straight, or layered hair. You may need to use extra bobby pins or styling products for added hold, especially for shorter or layered hair.
What tools do I need to create a milkmaid braid?
You’ll need bobby pins, hair ties, and a good comb or brush. Optional but helpful products include texturizing spray, light hold styling cream, frizz control serum, and light hold hair spray for a polished, long-lasting look.
How do I prep my hair for a milkmaid braid?
Start with hair that’s a day or two past washing for best grip. Use a wide-tooth comb to detangle and part your hair down the center. Apply a small amount of frizz control serum and, if you want extra volume, curl your hair lightly before braiding.
Can the milkmaid braid be worn for both casual and formal events?
Absolutely. The milkmaid braid is versatile, making it perfect for everything from casual outings to formal events. You can dress it up with accessories or keep it simple for an effortless, elegant style.
How do I keep my milkmaid braid from slipping or falling out?
To prevent slipping, use texturizing spray for grip and secure each braid with fabric-covered elastics. Reinforce with plenty of bobby pins and use a light hold hair spray to keep everything in place throughout the day.
What styling tips help make the milkmaid braid look fuller?
Gently pull apart the sections of each braid after securing them with hair ties—this creates volume and makes your braid appear fuller and more romantic.
What accessories work well with a milkmaid braid?
Flower crowns, decorative pins, ribbons, and scarves all add a personal touch to the milkmaid braid. Choose accessories that complement your outfit and the occasion.
How can I refresh my milkmaid braid during the day?
Spritz a light hold hair spray for extra hold, use a frizz control serum to smooth flyaways, and gently retuck any loose strands with bobby pins for a quick refresh. Loosening the braids slightly after pinning can also revive volume.
Is the milkmaid braid easy to do on short hair?
Yes, with some adaptations. Use tighter plaits, extra bobby pins, and texturizing spray for volume and hold. If your hair is too short, try a faux milkmaid braid using hairpieces for a similar look.


